

Overview
Pass template types in PassEntry define layout structure, available visual assets and field placement. They do not limit how you can use a pass. You can use any template type for any scenario, whether that’s loyalty, access control, events, memberships, gift cards or insurance passes. The template type simply gives you a starting layout optimised for a common use case.In this guide
- Do pass template types restrict use cases?
- Available template types
- Visual examples
- Comparison table
- How template types differ
- Draft and published templates
- Choosing the right template type
- FAQ
- What’s next
Do pass template types restrict use cases?
A pass template type:- ✅ Controls layout
- ✅ Determines which images and fields are available or required
- ❌ Does not enforce business logic or restrict usage
- A Loyalty template can be used for access control
- An Event template can also be used for non-ticket scenarios that require more visible fields or broader geo-based notifications.
- A Generic template can be used for almost any scenario
Available pass template types
PassEntry currently supports the following template types:- Loyalty
- Generic
- Stamp card
- Event
- Transit
Visual examples of pass template types
The examples below show typical layouts for each pass template type. They illustrate visual structure only. You can customise and reuse any template for different use cases.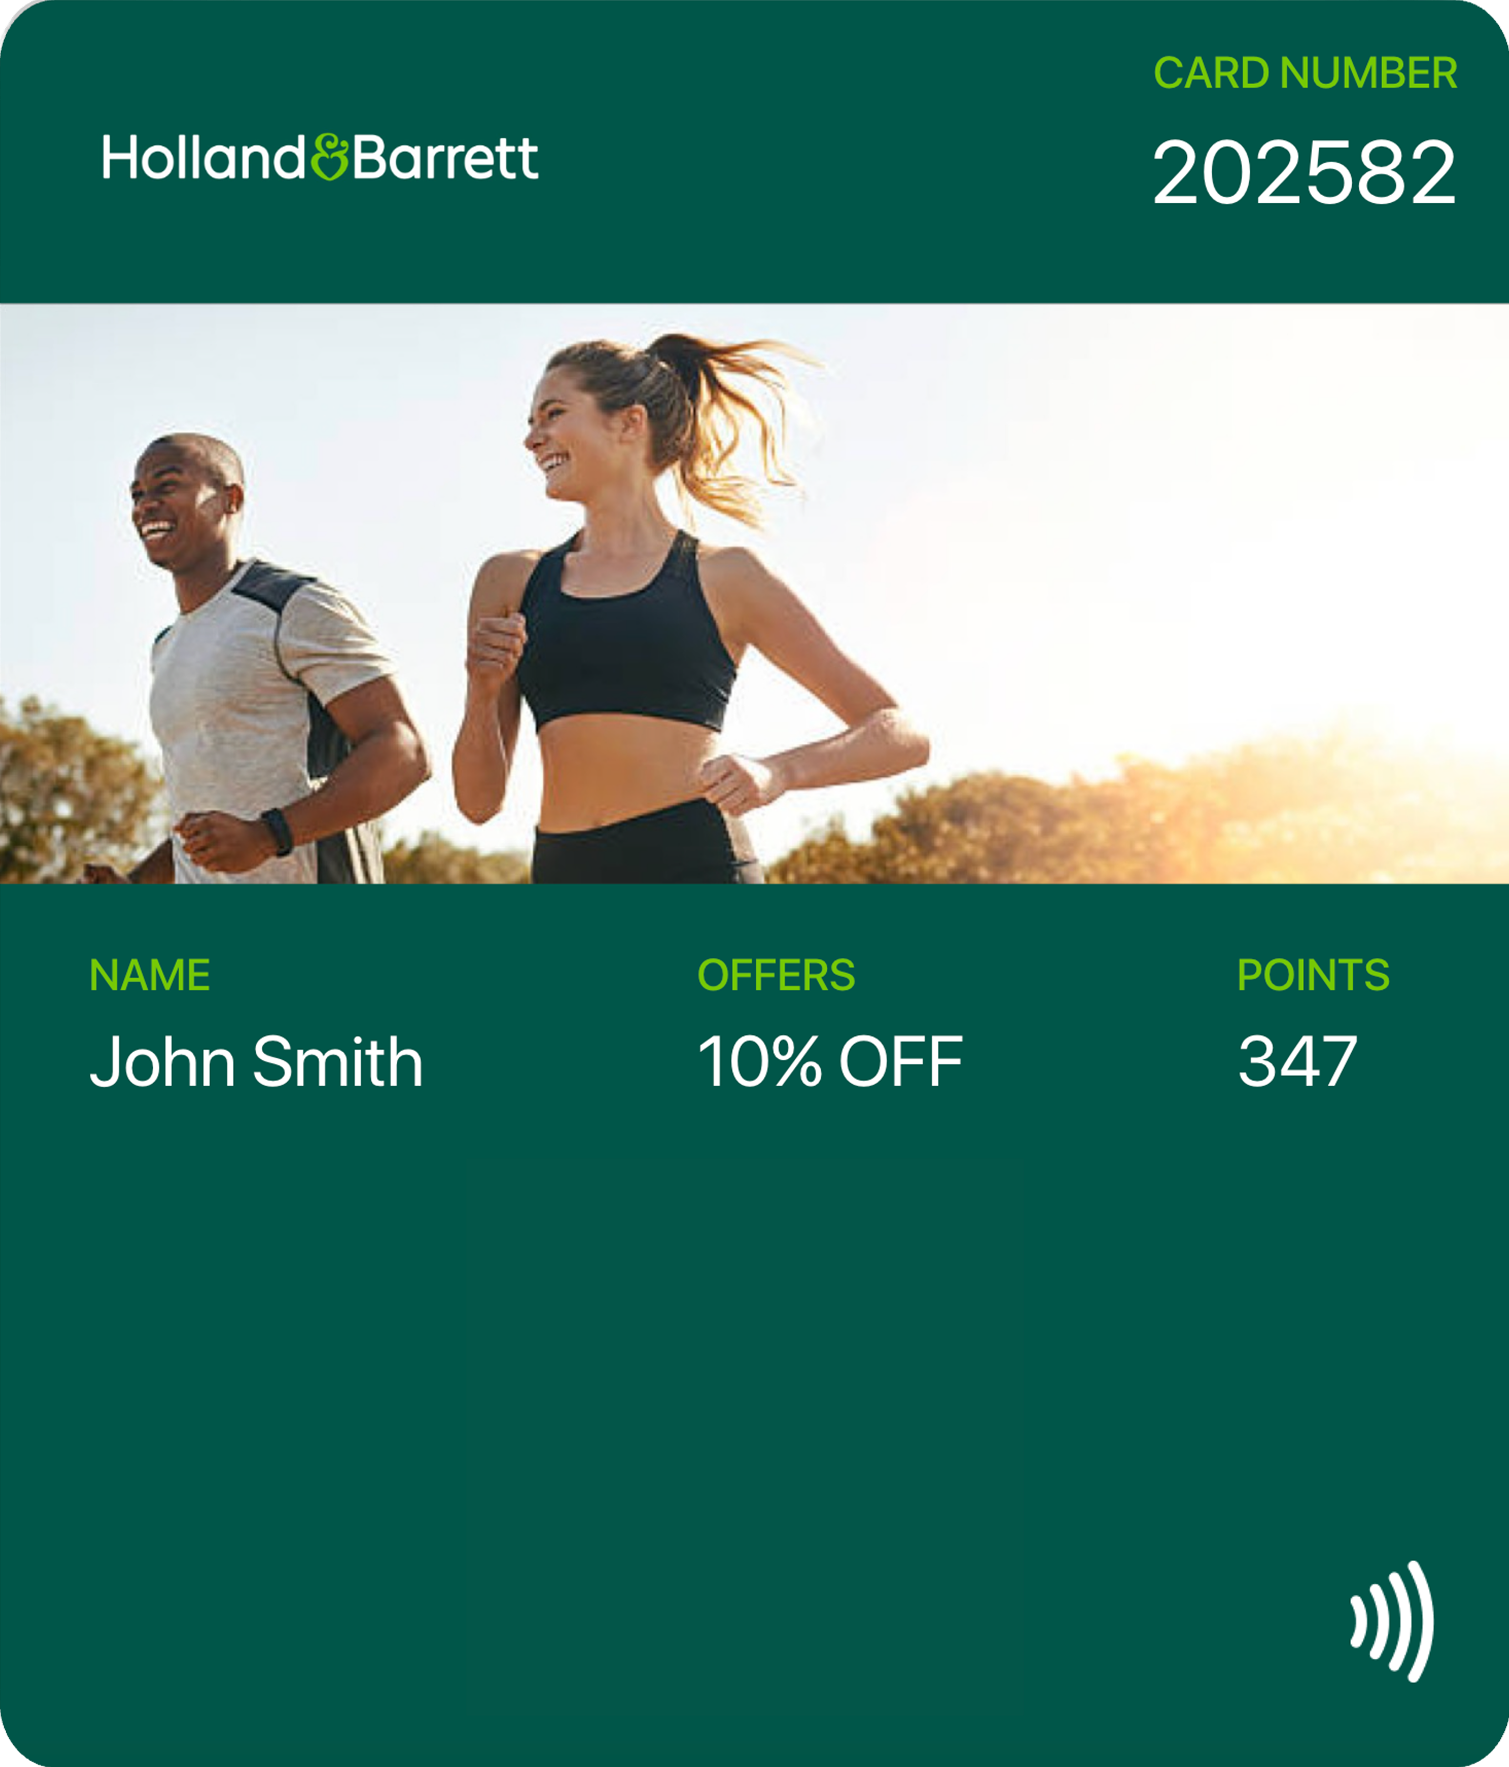
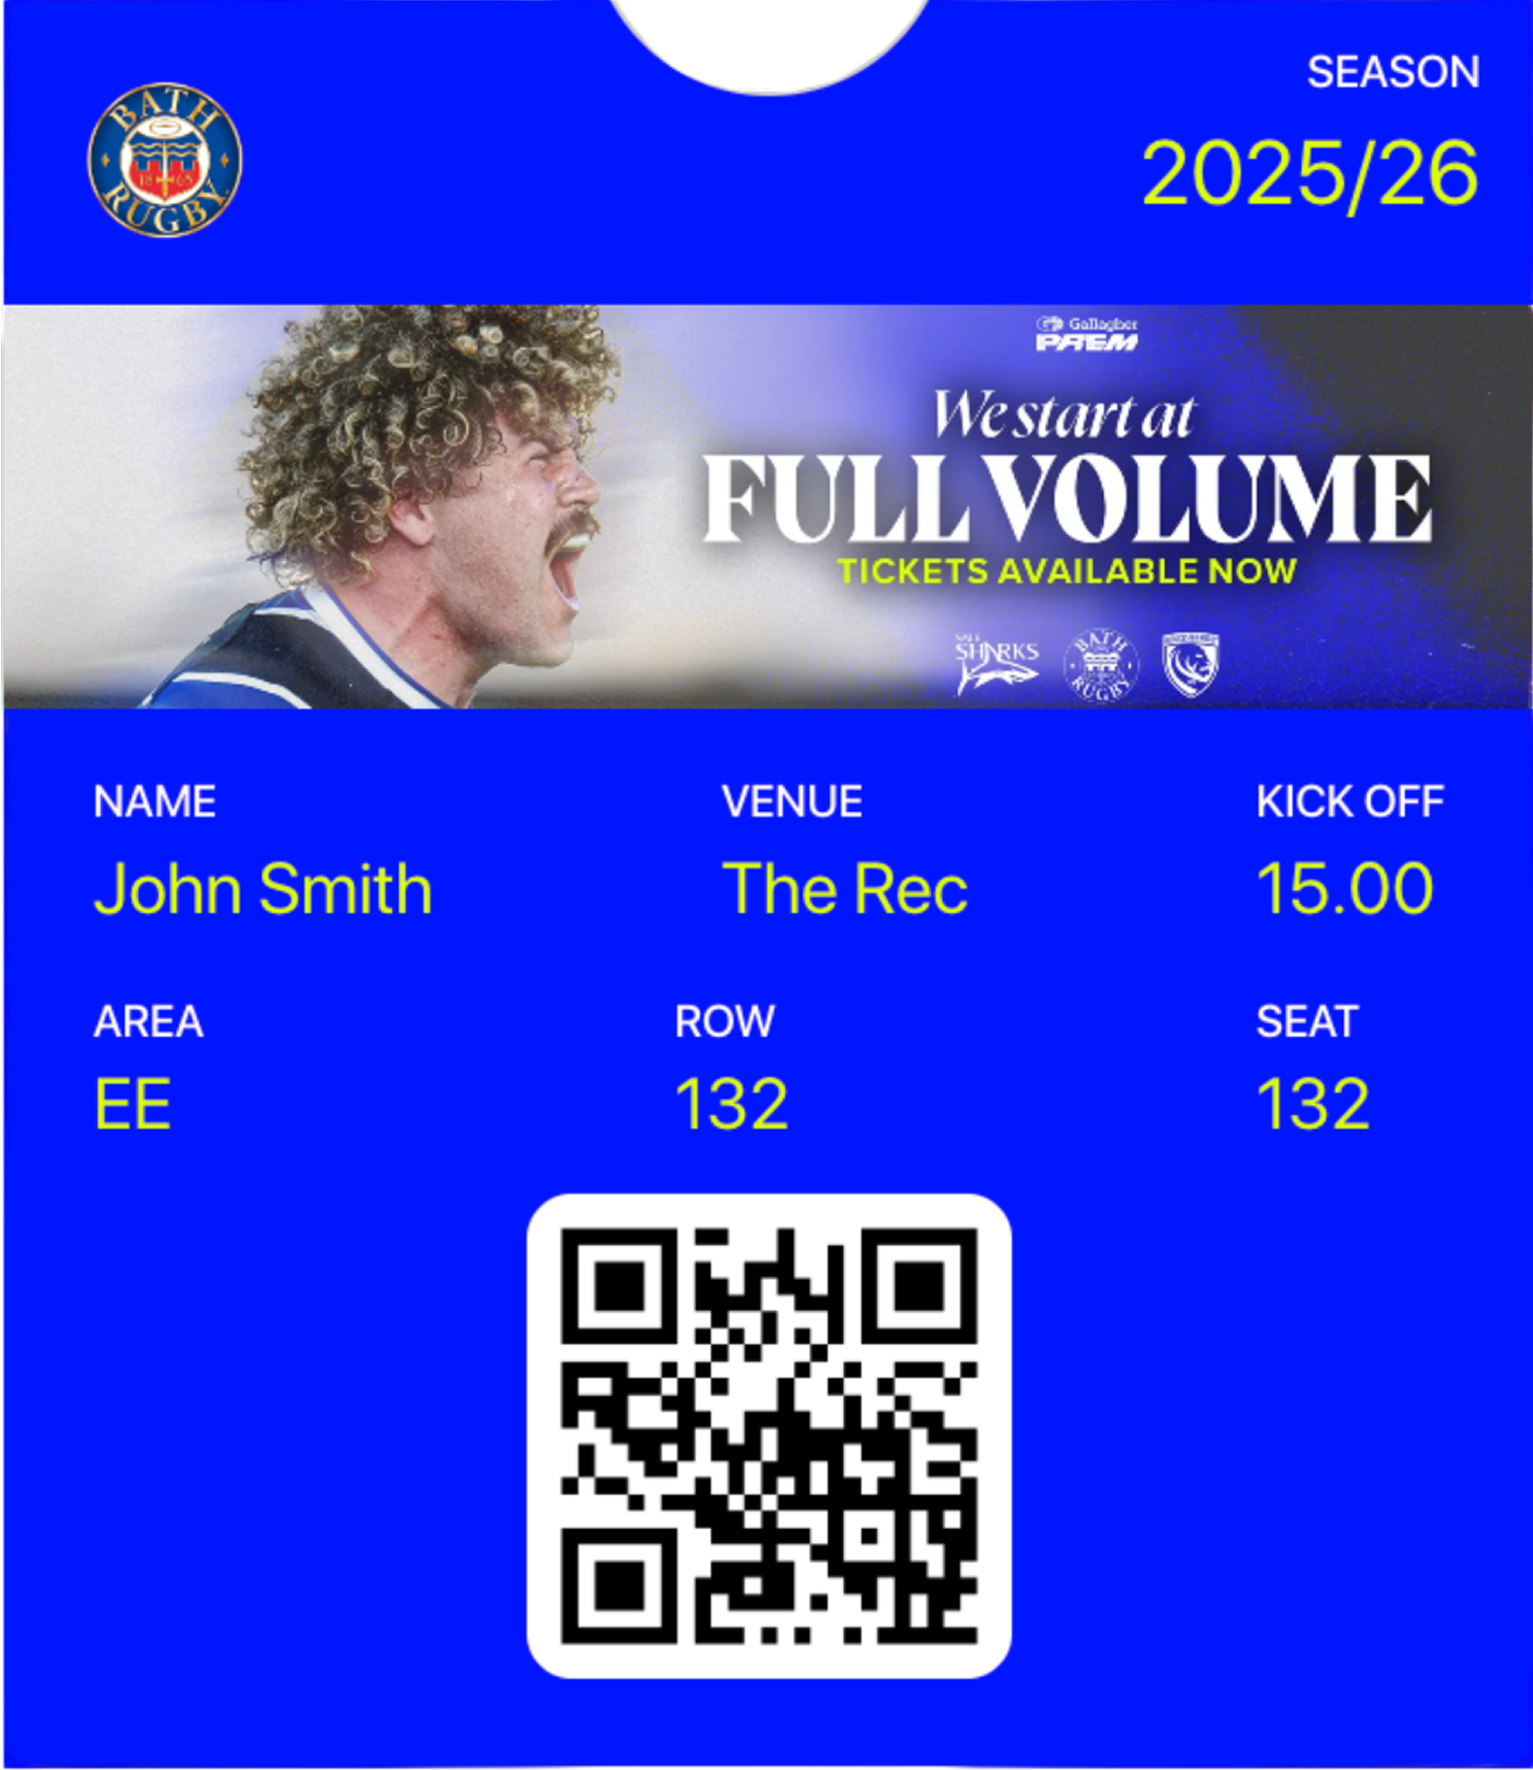
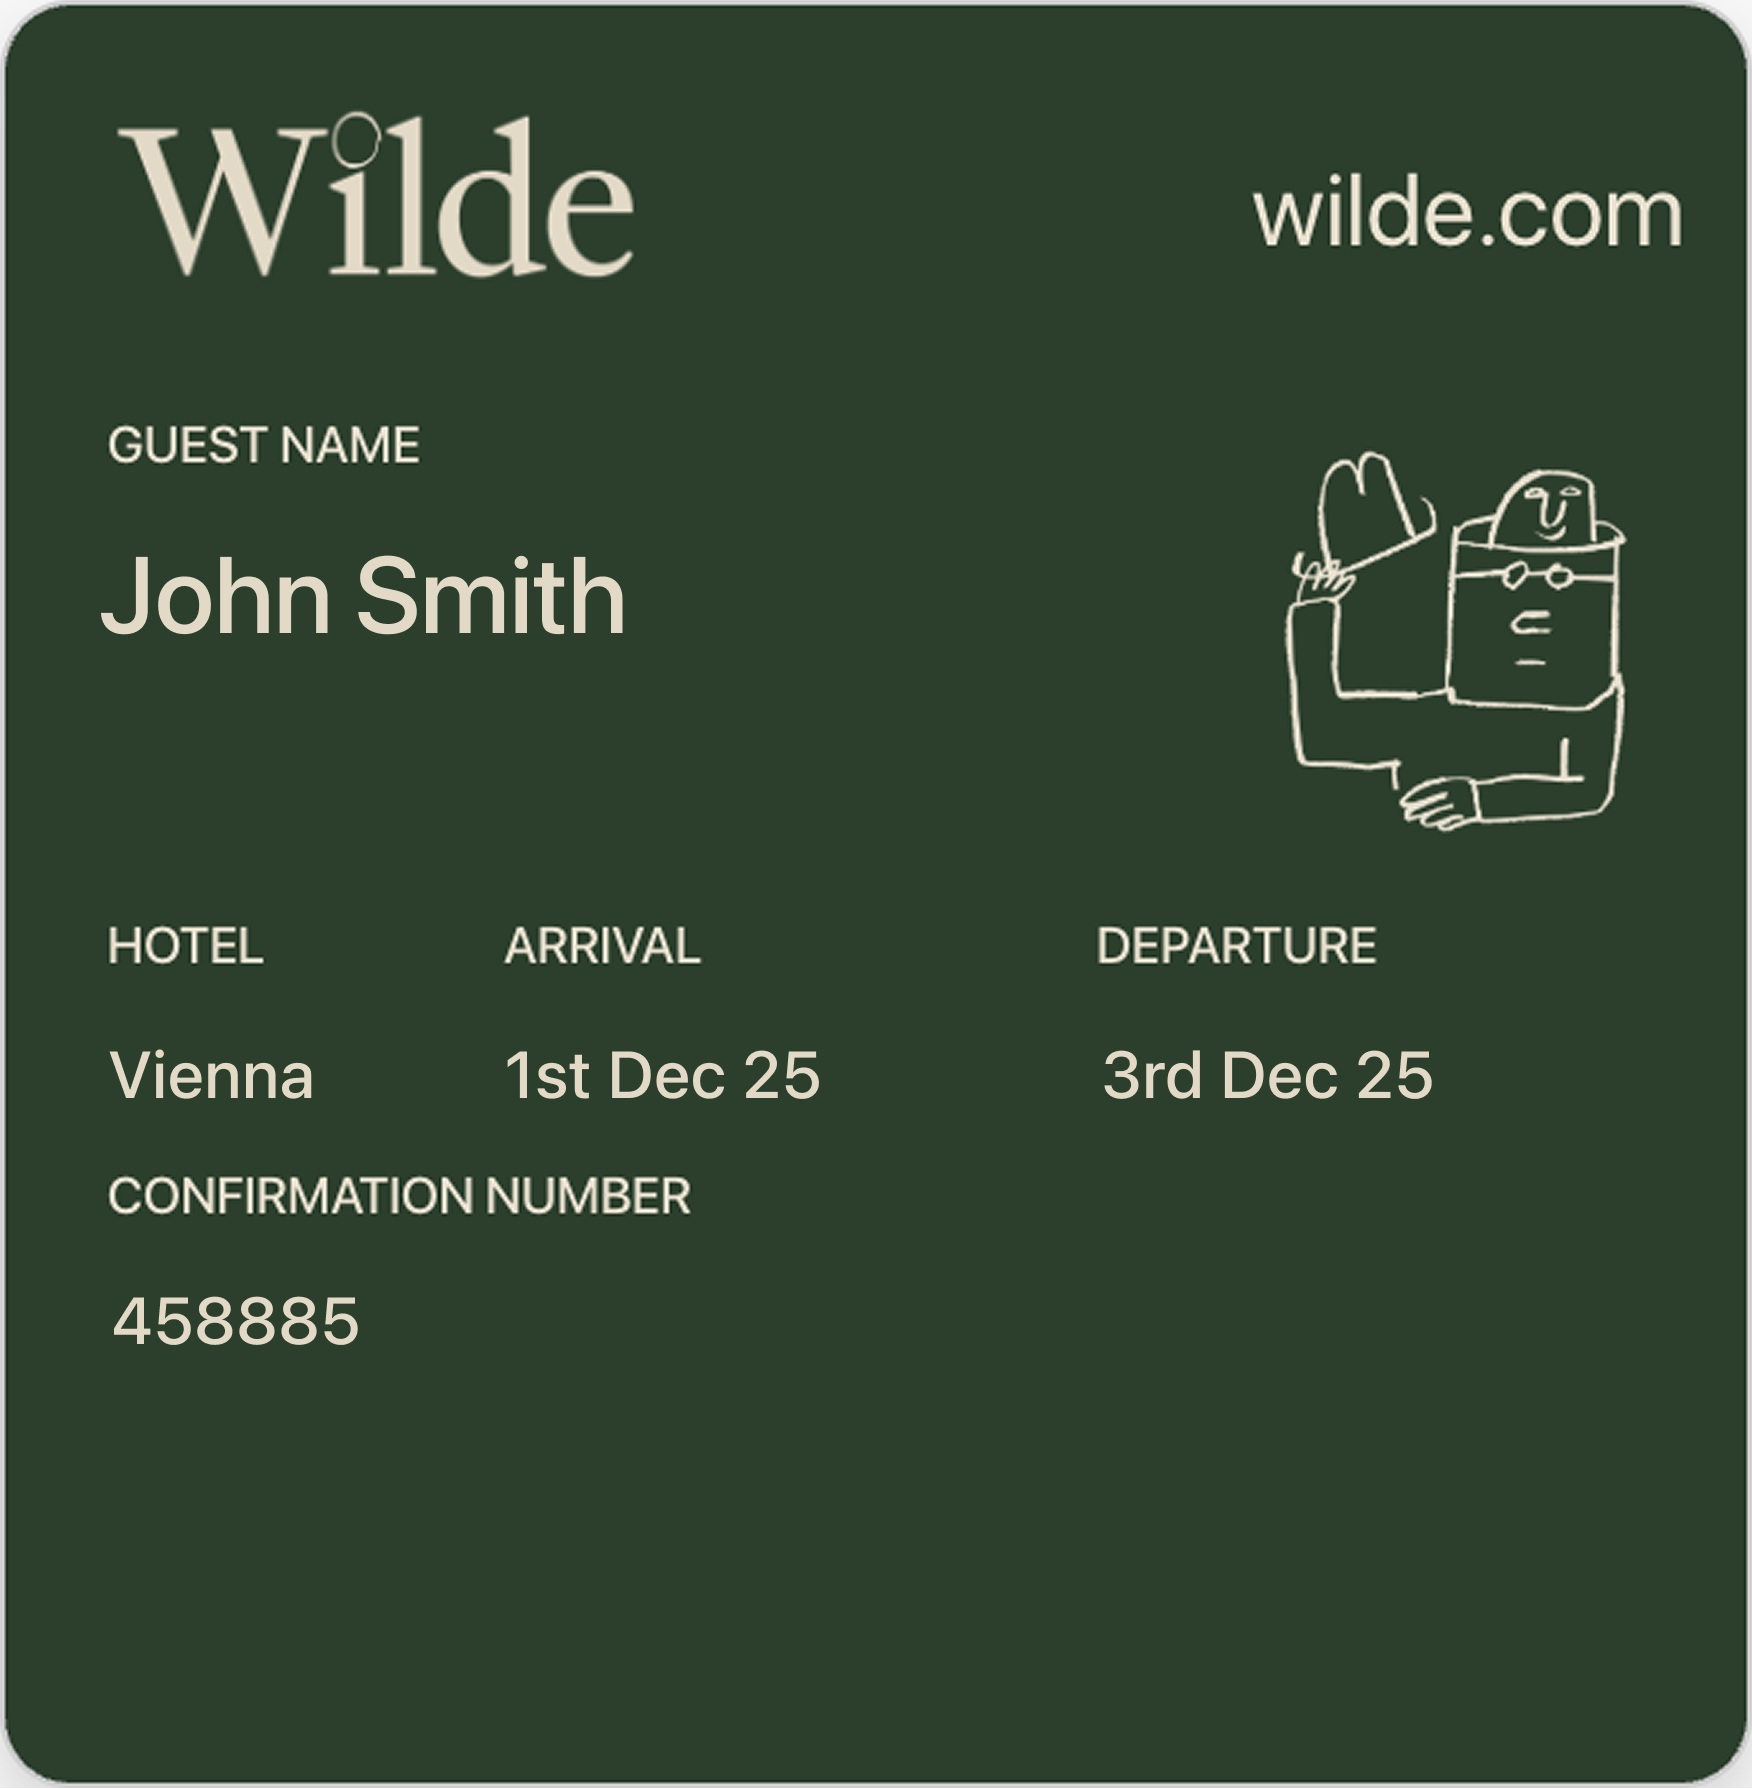
Stamp card
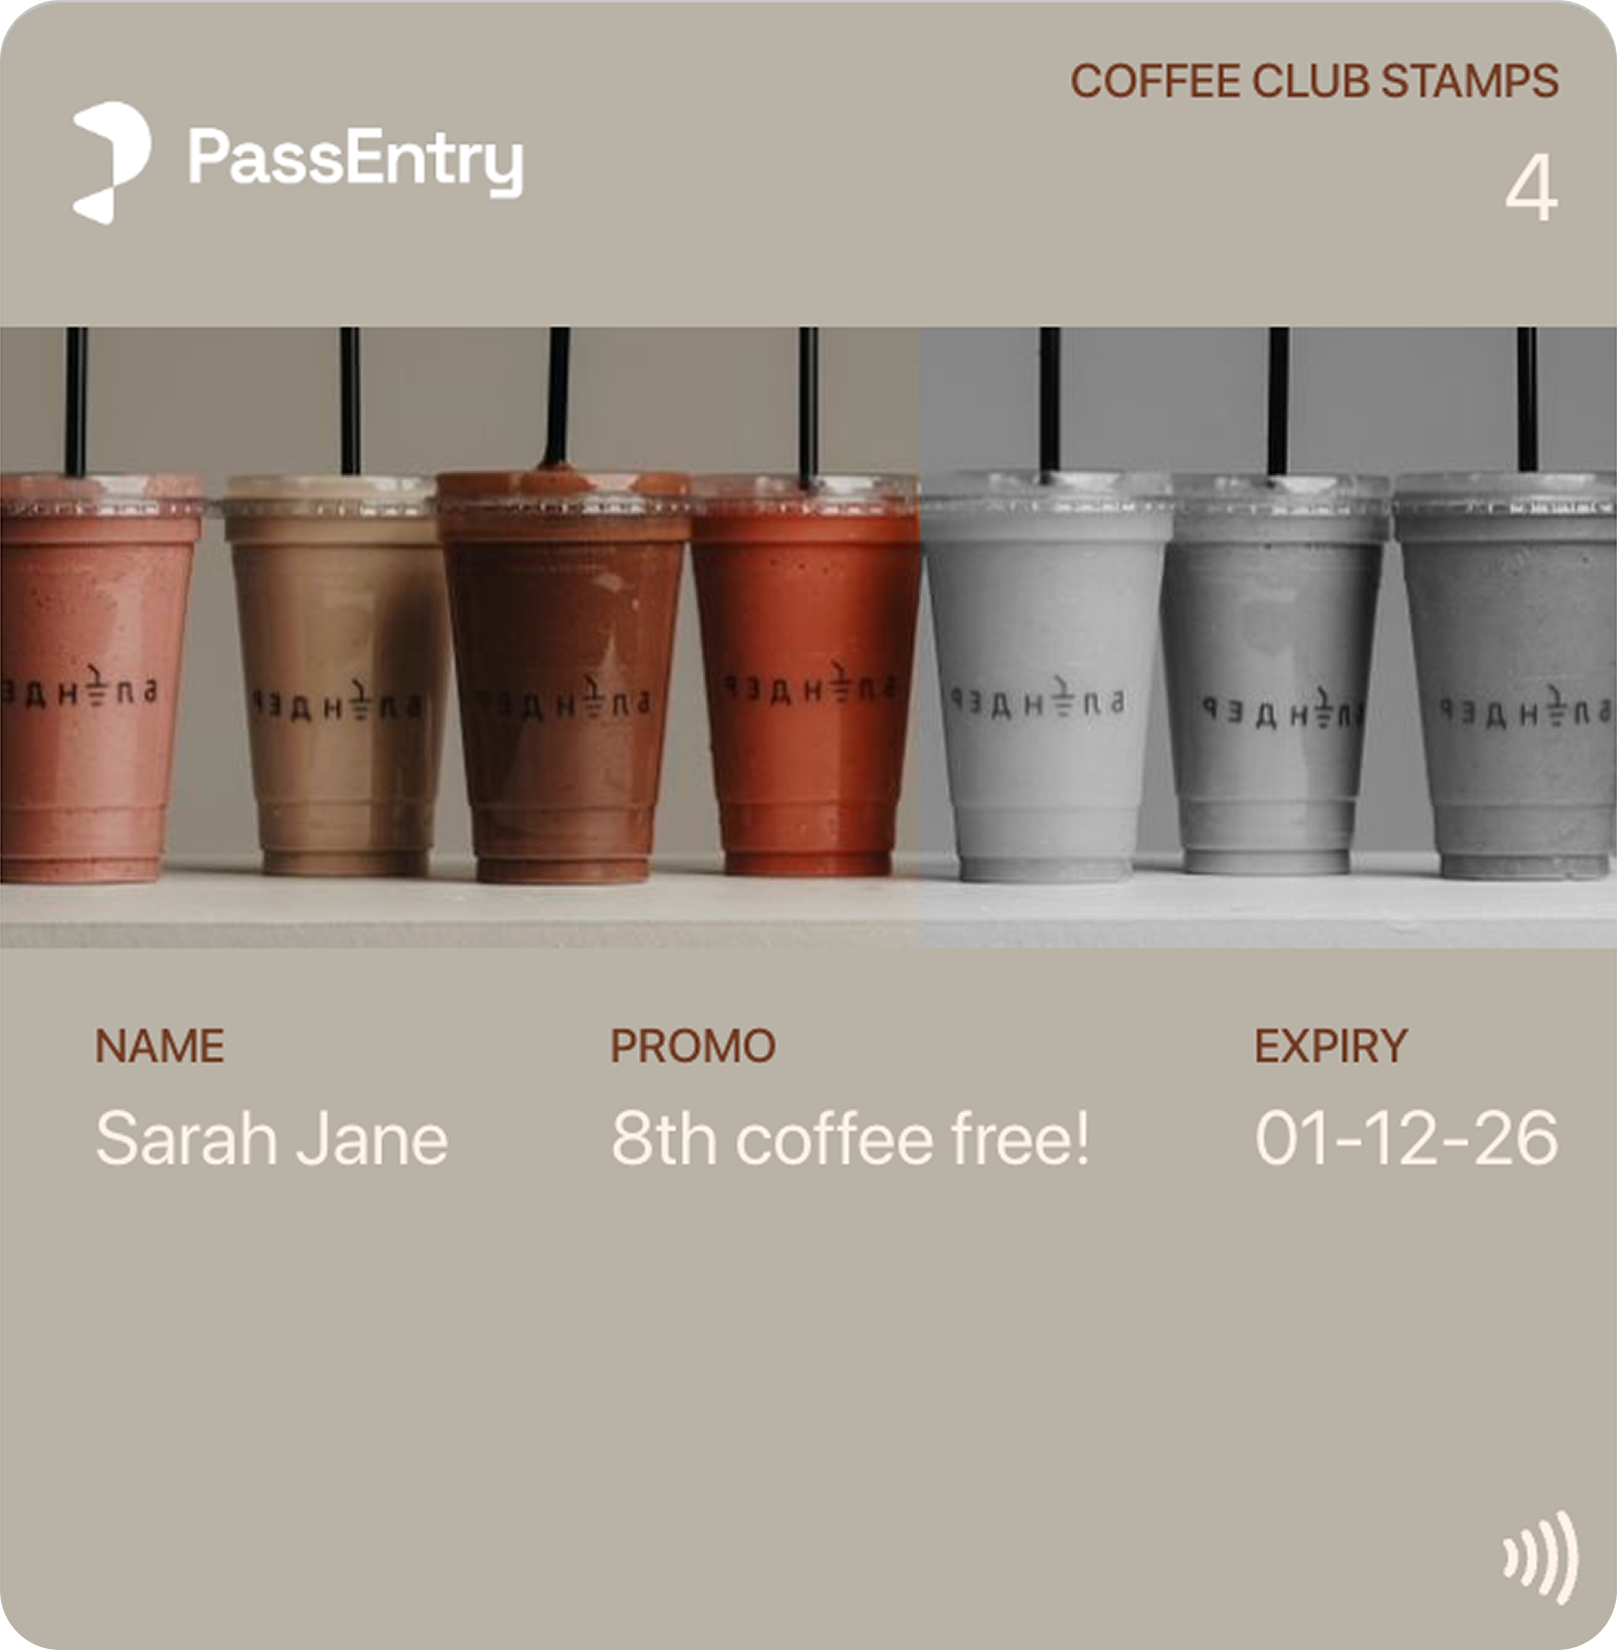
Progress-based layout showing completed and remaining steps (4 cups out of 7 filled – 3 more to go).
Transit
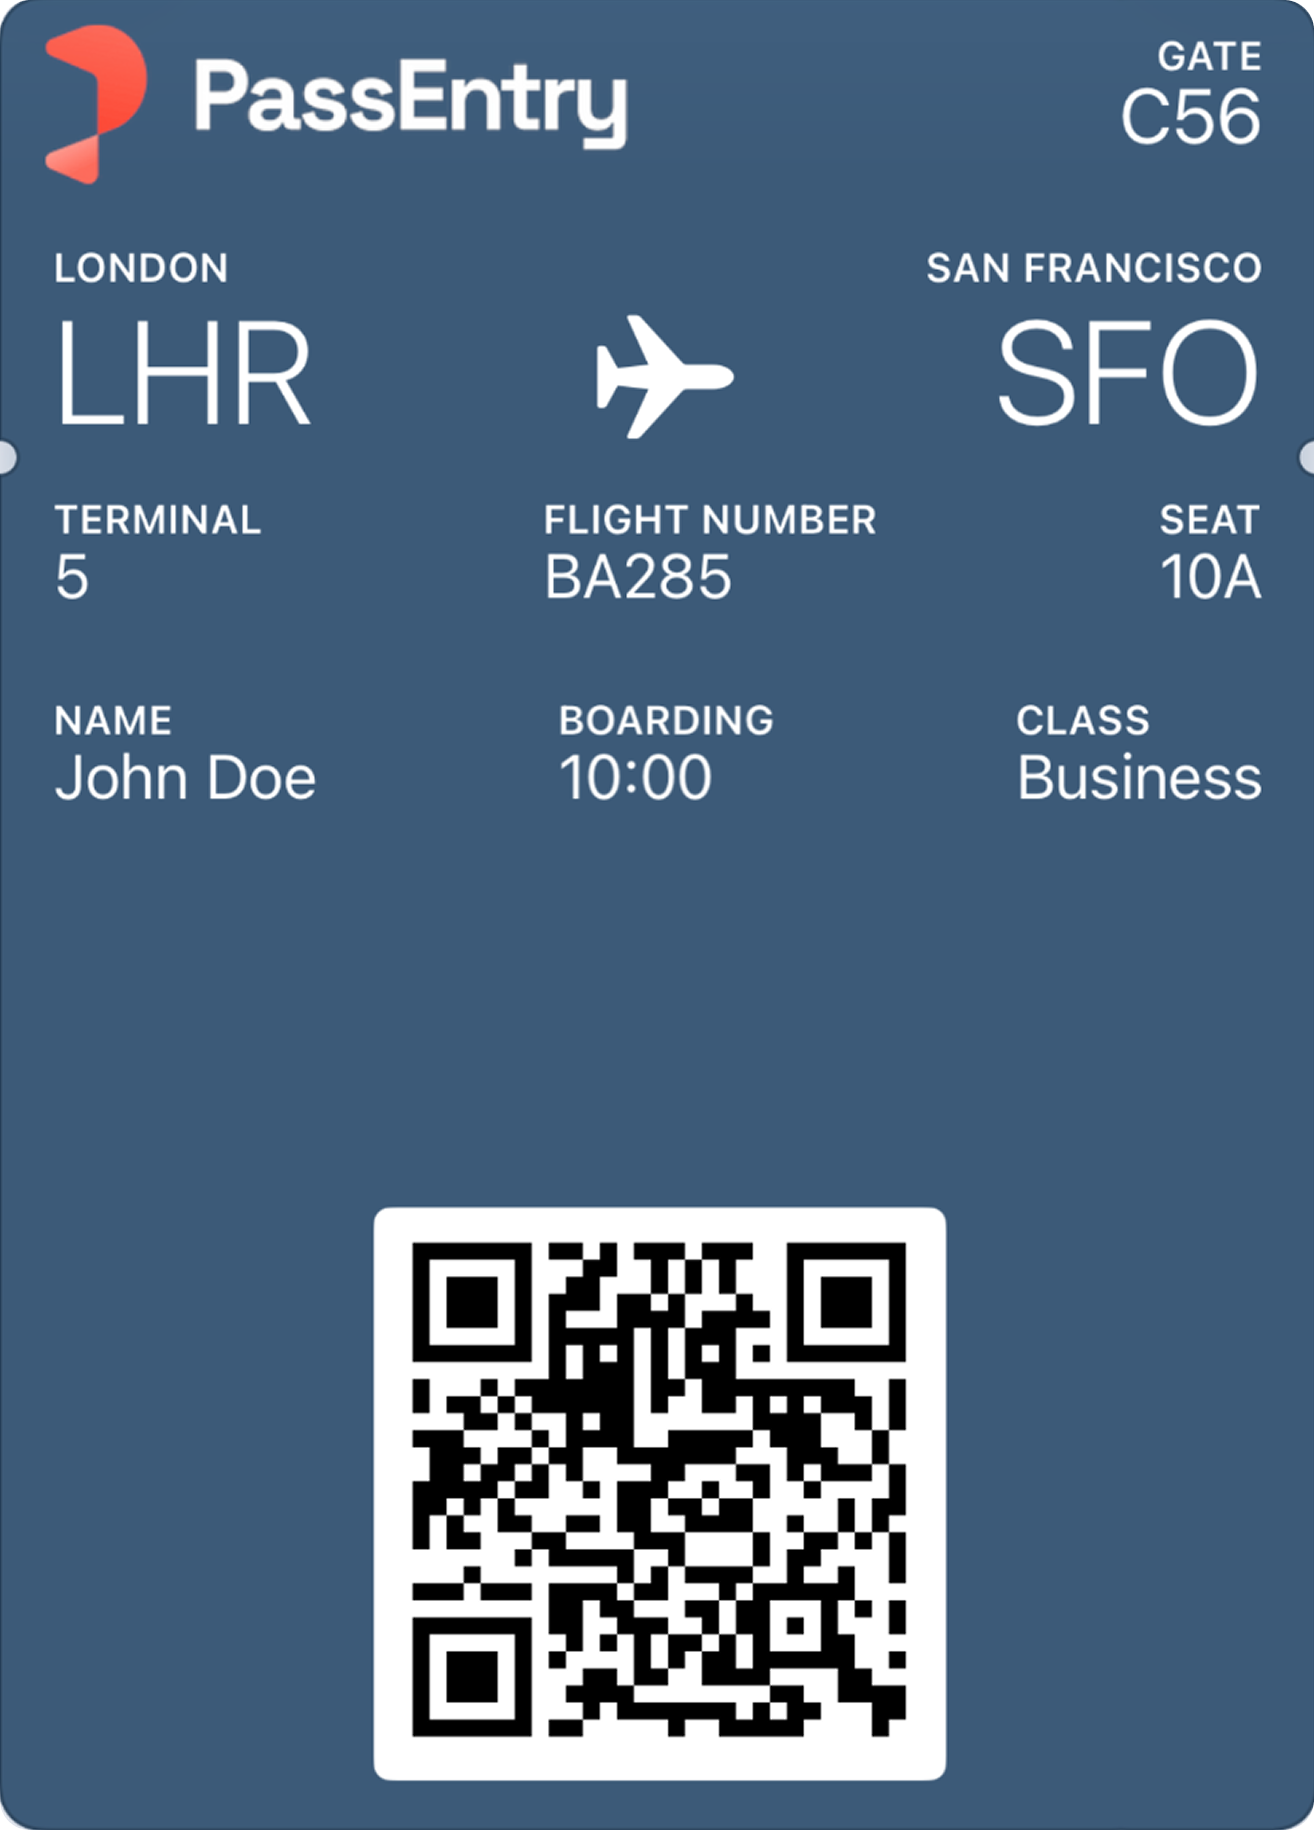
Requires two central fields (origin and destination) and emphasises route or journey details.
Template type comparison
The table below contains the main differences between pass template types including available assets, fields and features. All types support Apple Wallet and Google Wallet.How template types differ
Layout and field structure
Template types define:- Which field sections are available (header, central, details, back)
- How many fields can appear in each section
- Whether certain sections are required
- Transit templates require two central fields.
- Event templates allow more detail fields on the front, but don’t have a central field.
- Generic templates include one central field.
Images and branding assets
Template types also control which images are supported or required, such as:- Logo
- Icon
- Banner
- Thumbnail
Draft and published templates
Save a pass template as a draft while you’re still iterating on it — try out different layouts, fields, colours or images before making the template available to issue passes. Why use drafts?- Experiment with different pass template ideas side by side without polluting your published catalogue
- Iterate on a design privately until it’s ready
- Publish a draft when you’re happy with it; delete the ones you no longer need
- Drafts are capped at 20 per organisation, but don’t count against your pass template quota — keep a working set as you experiment
The
status field appears on every pass template response under data.attributes.status.
Drafts are created and managed through the PassEntry Dashboard.
Choosing the right template type
There is no single “correct” template type. The best choice depends on the layout and fields you need to display.
- How many fields do you need to display on the front and on the back of the pass? Remember that clickable links must be placed on the back of the pass — see Can I add a clickable link to a back field? below.
- Which layout best fits the information you want to display?
- Do you need a central field, two central fields or a progress-based layout?
- Which assets (logo, banner, icon, thumbnail) do you want to highlight?
- The name of the template type
- Whether your use case matches the label exactly
Frequently asked questions
Do pass template types restrict how a pass can be used?
No. Pass template types only define layout, available assets and field structure. You can use any template type for any use case.Which pass template type should I choose?
Choose the template type based on the layout and fields you need to display on the pass, not on the name of the template type.Can I use a Loyalty template for non-loyalty use cases?
Yes. For example, Loyalty templates are often used for access passes or memberships where a membership ID is displayed in the top-right header field.If I want to use the Loyalty API and update a balance on the pass, do I need to use a Loyalty template?
Not necessarily. Any template type can be configured to use a header field as a balance field and apply loyalty balance formatting. Once the template is configured this way, you can use the Loyalty API with any template type.Do all template types support Apple Wallet and Google Wallet?
Yes. All pass template types support both Apple Wallet and Google Wallet, but the available assets (such as banners or thumbnails) may vary slightly.Can I change the template type later?
You can change the template design (colours, fields, images) at any time, but the template type itself cannot be changed after creation.I updated a field’s default value on a template — why hasn’t it changed on existing passes?
Changing a field’s default value on a template only applies to newly created passes by default. Existing passes keep whatever value they already have on that field.- Dashboard: when you change a field’s default value on a template that already has passes, a required prompt appears — “Who should this change apply to?” — with two options: New passes only (default) or New and existing N passes. Choose New and existing N passes to push the new default out to every existing pass on the template.
- API: set
overrideFieldValue: trueon the field in your Update Pass Template request. See the pass templates guide for a full example.
Can I add a clickable link to a back field?
Yes. Clickable links are only supported on back fields — front fields (header, central, details) render as plain text on both Apple Wallet and Google Wallet. Barehttps:// URLs placed in a back field’s value are automatically formatted as clickable links on both Apple Wallet and Google Wallet — no <a> tag required.
For custom link text or to list multiple links in a single field, back fields also render HTML anchor tags and newline characters on both platforms. Wrap each URL in an <a> tag and separate entries with \n:
\n renders as a line break. URLs must begin with http://, https://, or mailto:. When supplying HTML anchors via CSV (batch pass creation or update), follow the CSV escaping rules described in the batch pass creation guide.
What’s next?
- Learn which design assets to use for your pass template
- Explore issuing passes from template via API