Overview
PassEntry lets you create, issue, and manage digital passes for Apple Wallet and Google Wallet using either a dashboard or an API.Following this guide, most teams can complete the setup in under 15 minutes using the PassEntry dashboard.
- Create a pass template
- Issue a digital pass
- Add a pass to a mobile wallet
- Update an existing pass
- Send a notification
What is PassEntry?
PassEntry is an API-first platform for issuing and managing digital wallet passes, including:- Event tickets
- Membership cards
- Loyalty passes
- Transit passes and more.
Prerequisites
Before you start, make sure you have:- A PassEntry account (you can start a free 14-day trial at https://app.passentry.com/signup)
- Sample brand assets if you want to customise the appearance of your passes
Core concepts
These concepts are used throughout the documentation:- Pass template. A reusable definition of a pass. Defines layout, branding, field labels, and static values that are the same for every issued pass.
- Pass. A single issued instance of a template. Inherits design and static values from the template and adds dynamic, user-specific data (for example: name, membership ID, seat).
- Pass download link. A secure, pass-specific URL that lets a user add a pass to Apple Wallet or Google Wallet.
Step 1: Create a pass template
A pass template defines the structure and appearance of your passes.Create a template in the dashboard
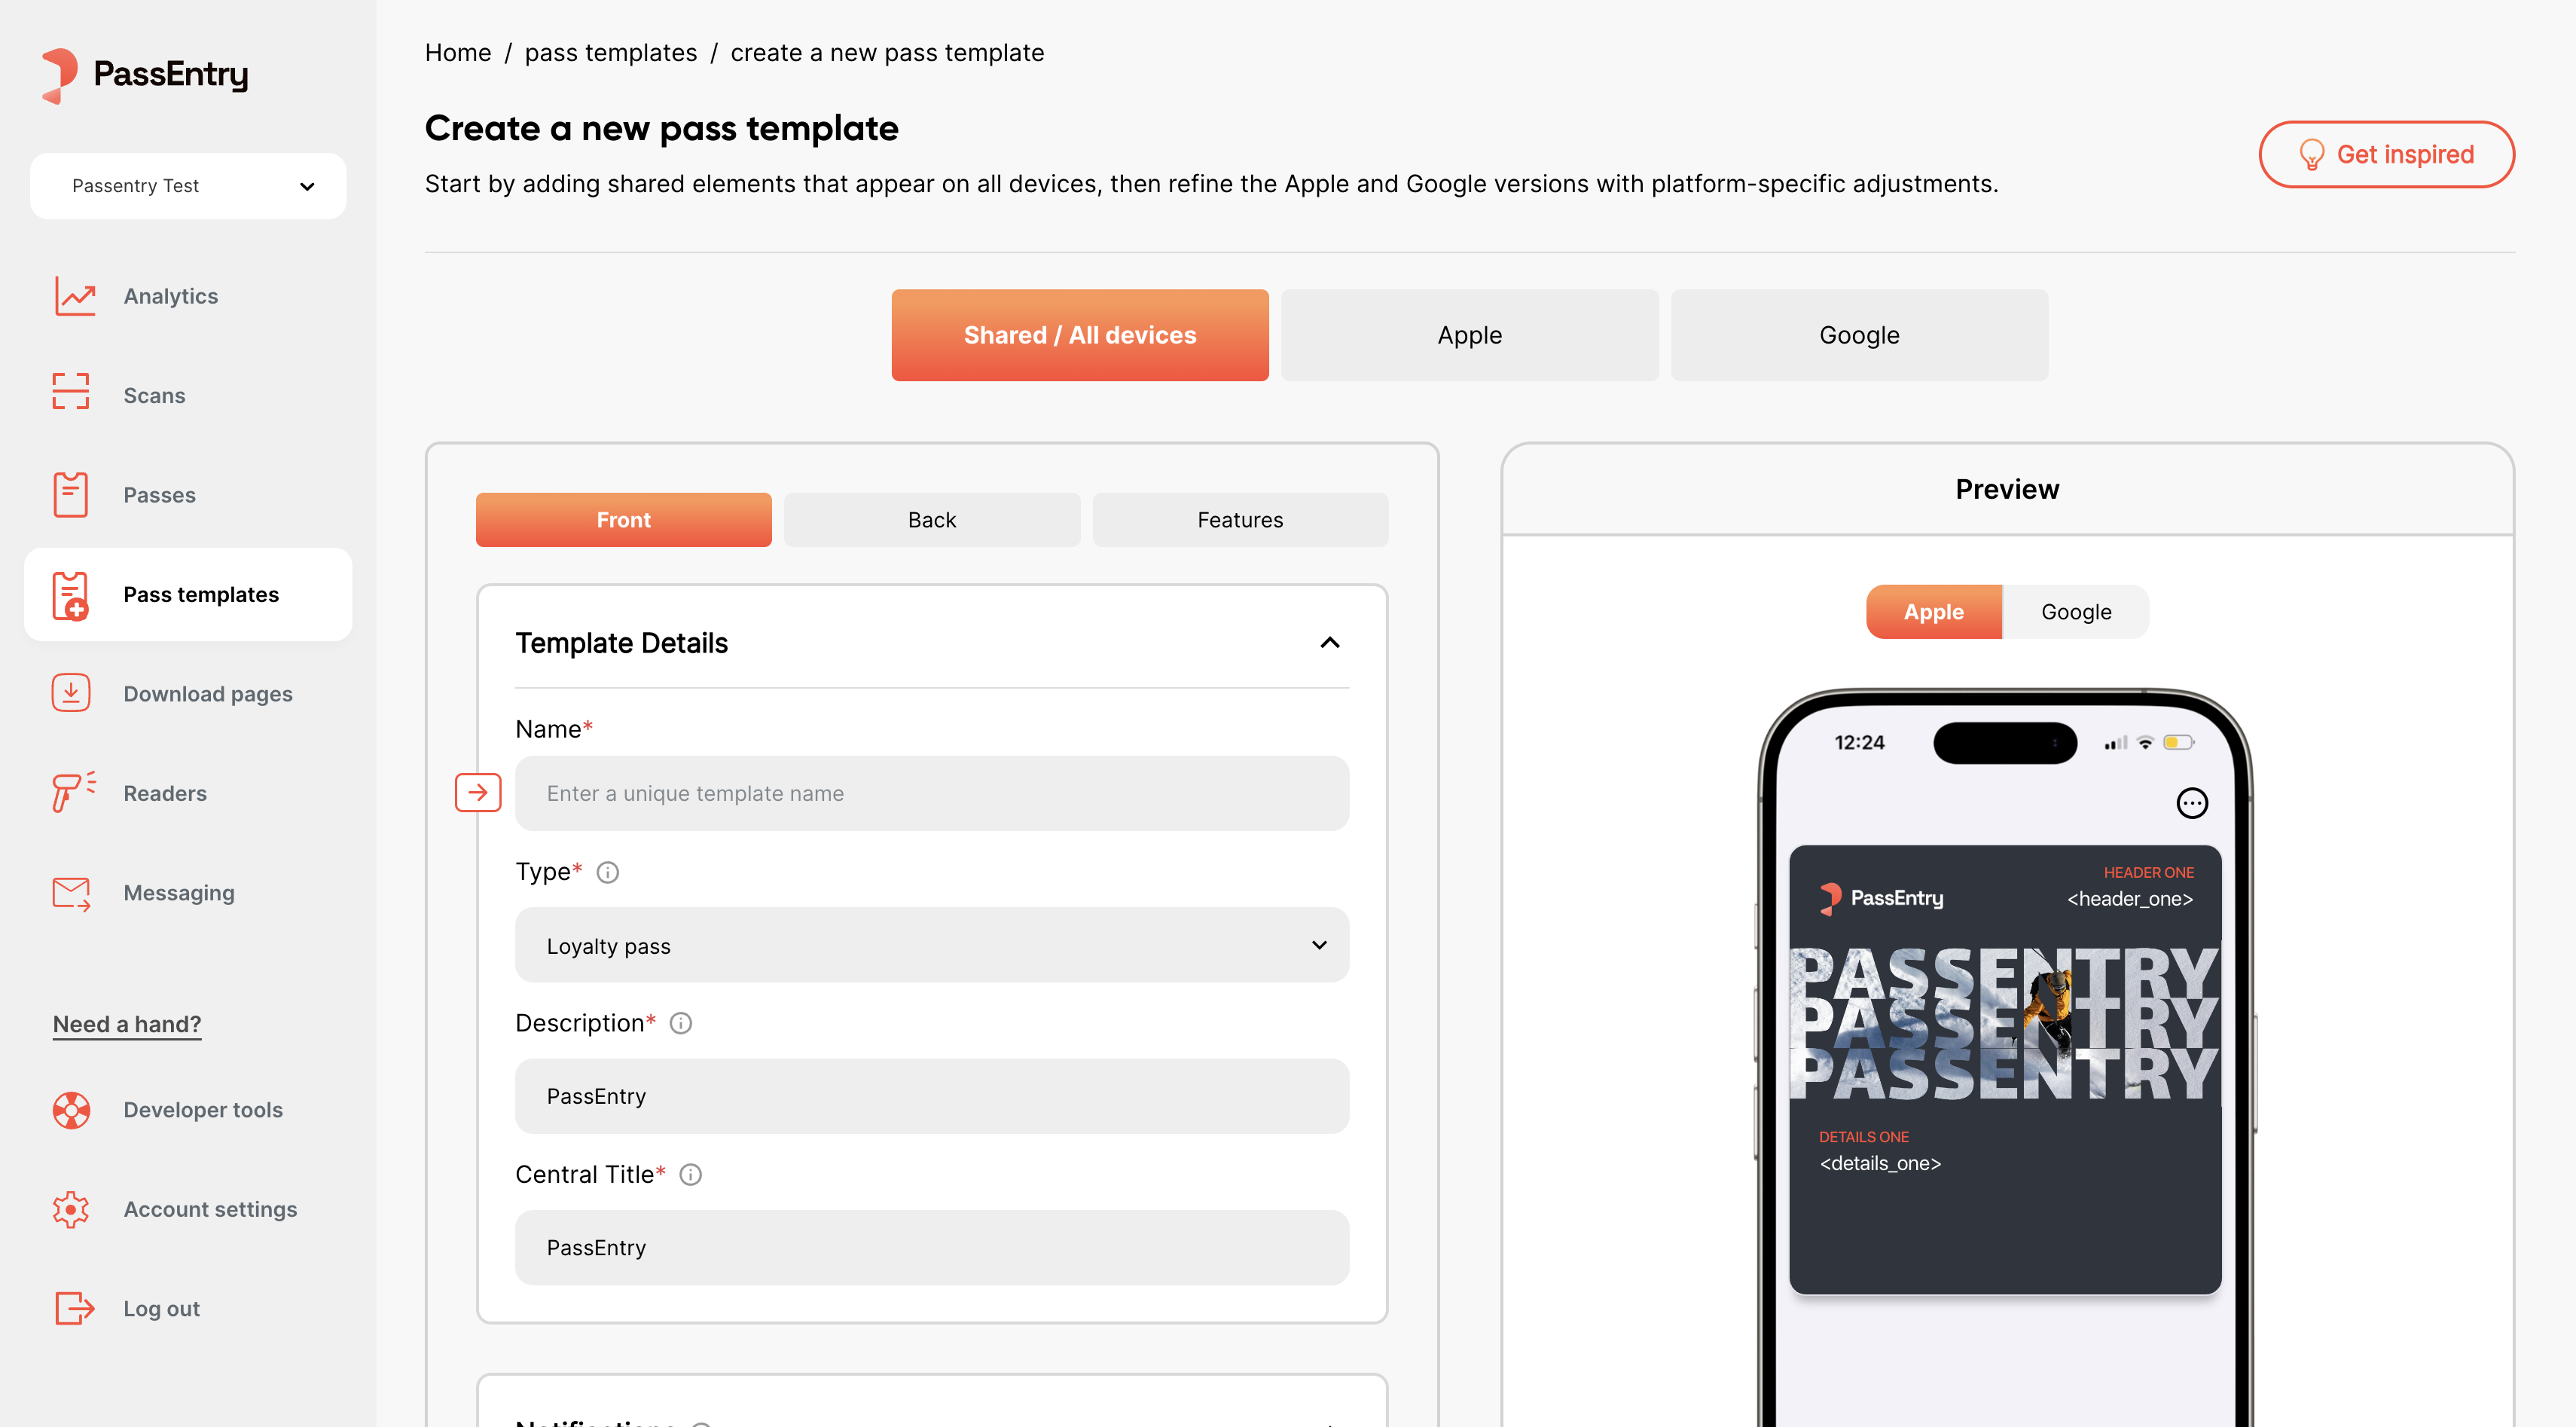
- Log in to your PassEntry account
- Go to Pass Templates
- Click Create template
-
Configure the template:
- Template type (loyalty, event, generic, transit)
- Visual branding (images and colours). Learn more: Designing passes
- Pass front fields (for example: membership ID, seat number, expiry date)
- Pass back fields (for example: clickable website link, support email or phone, map directions)
- App links to your iOS and Android apps
- Locations and beacons. Learn more: Geofencing
- Barcode, QR code or NFC. NFC requires prior approval. Learn more: Issuing NFC passes
- Custom pass issuance form. Learn more: Custom pass issuance forms
- Save the template
Step 2: Issue a pass
Once a pass template exists, you can issue individual passes from it.Issue a pass in the dashboard
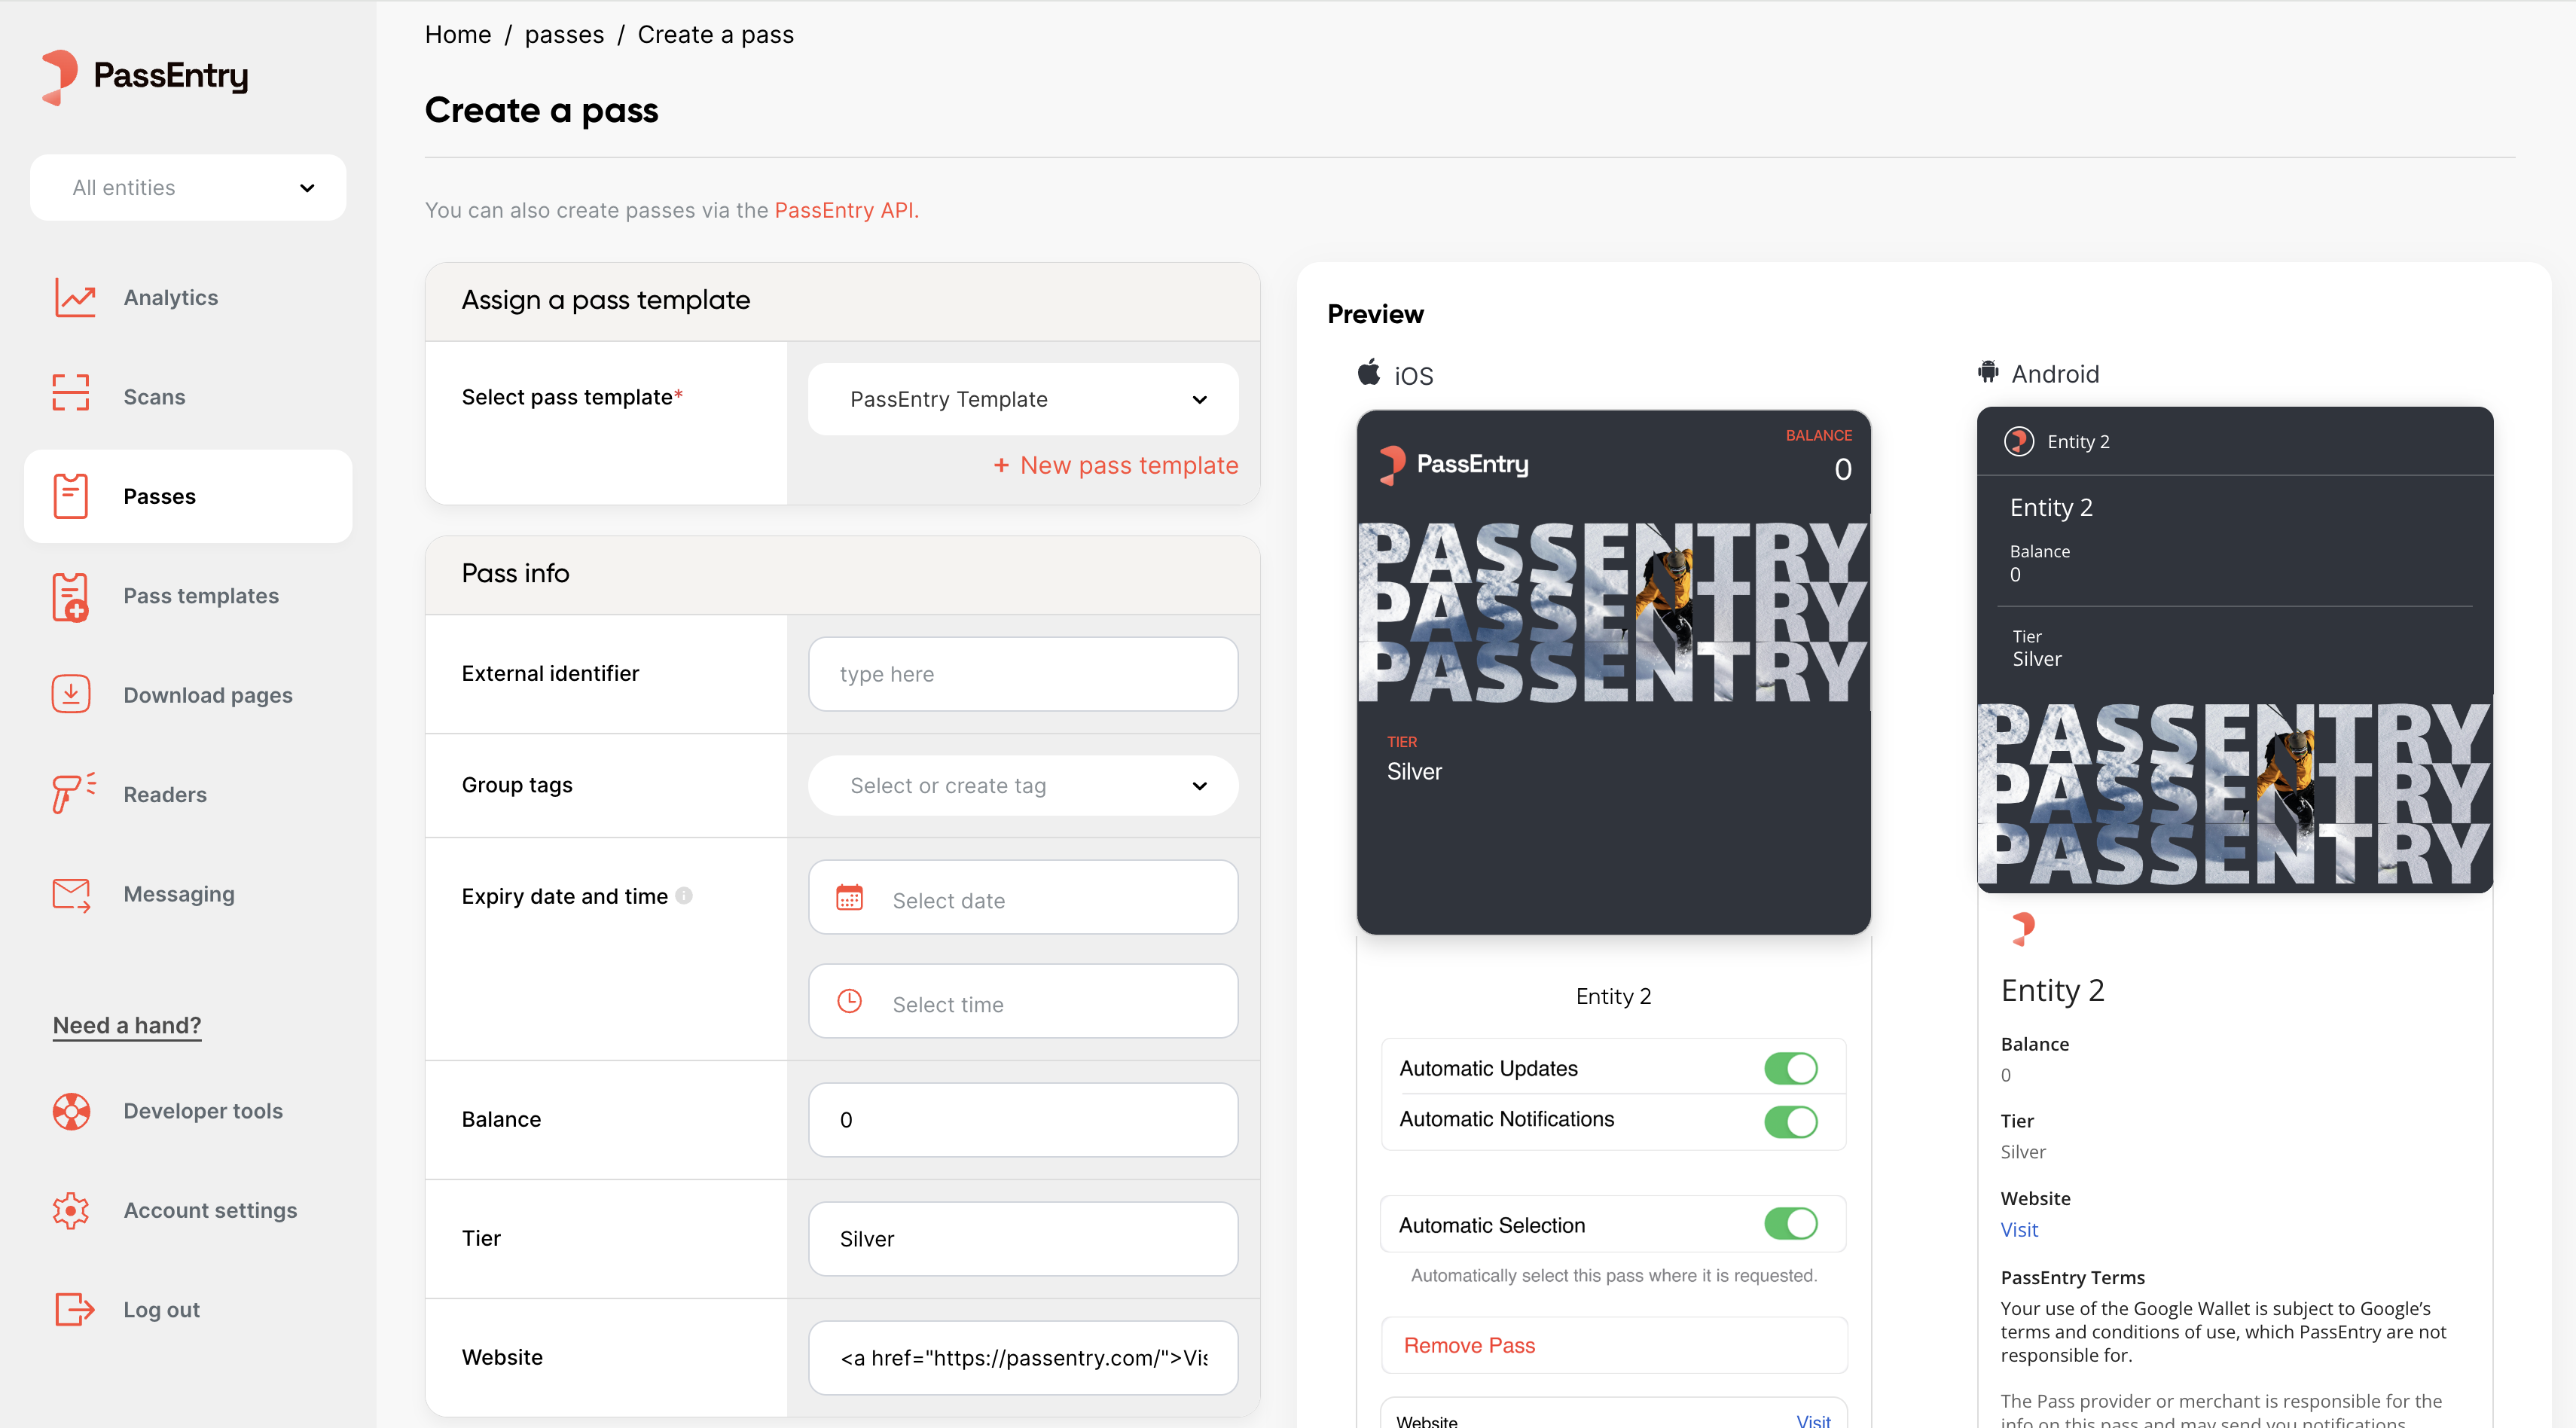
- Open the PassEntry dashboard
- Go to Passes
- Click Create a pass
- Select a pass template you created in the previous step
- Fill in the required pass data
- Create the pass
If you want to issue passes programmatically, see the API reference.
Step 3: Add the pass to a wallet
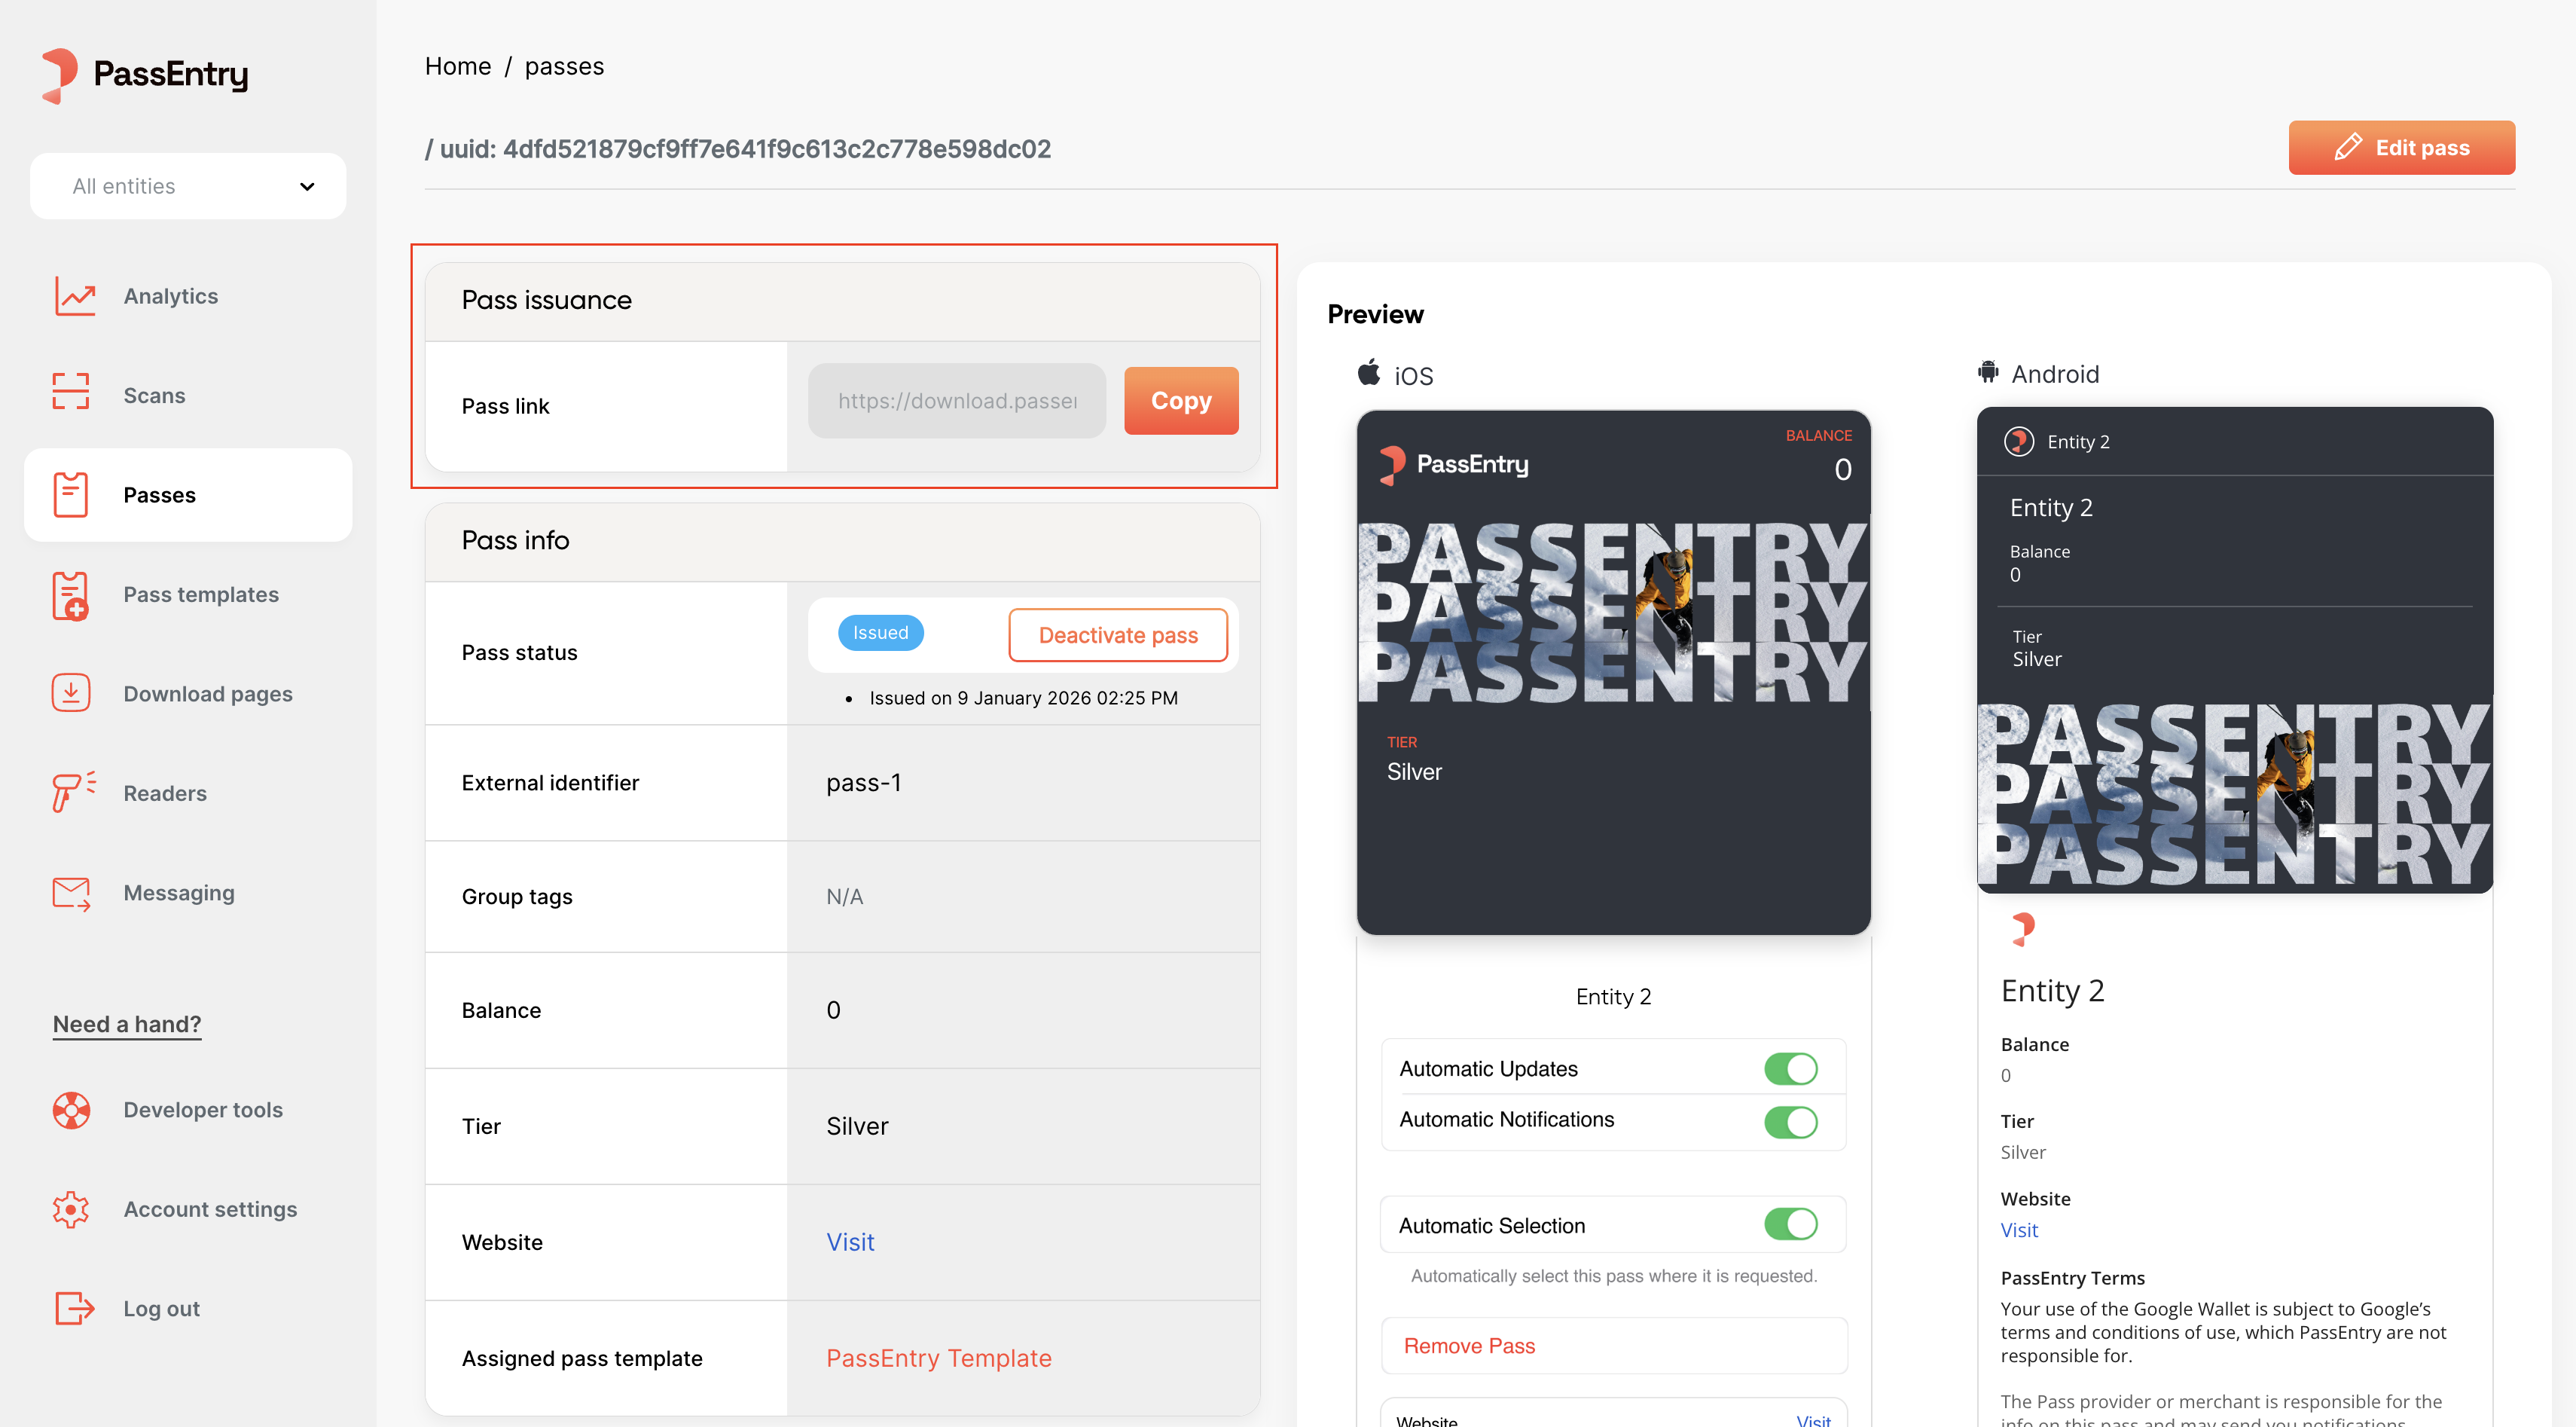
- When opened on a mobile device, the link opens Apple Wallet (iOS) or Google Wallet (Android) directly.
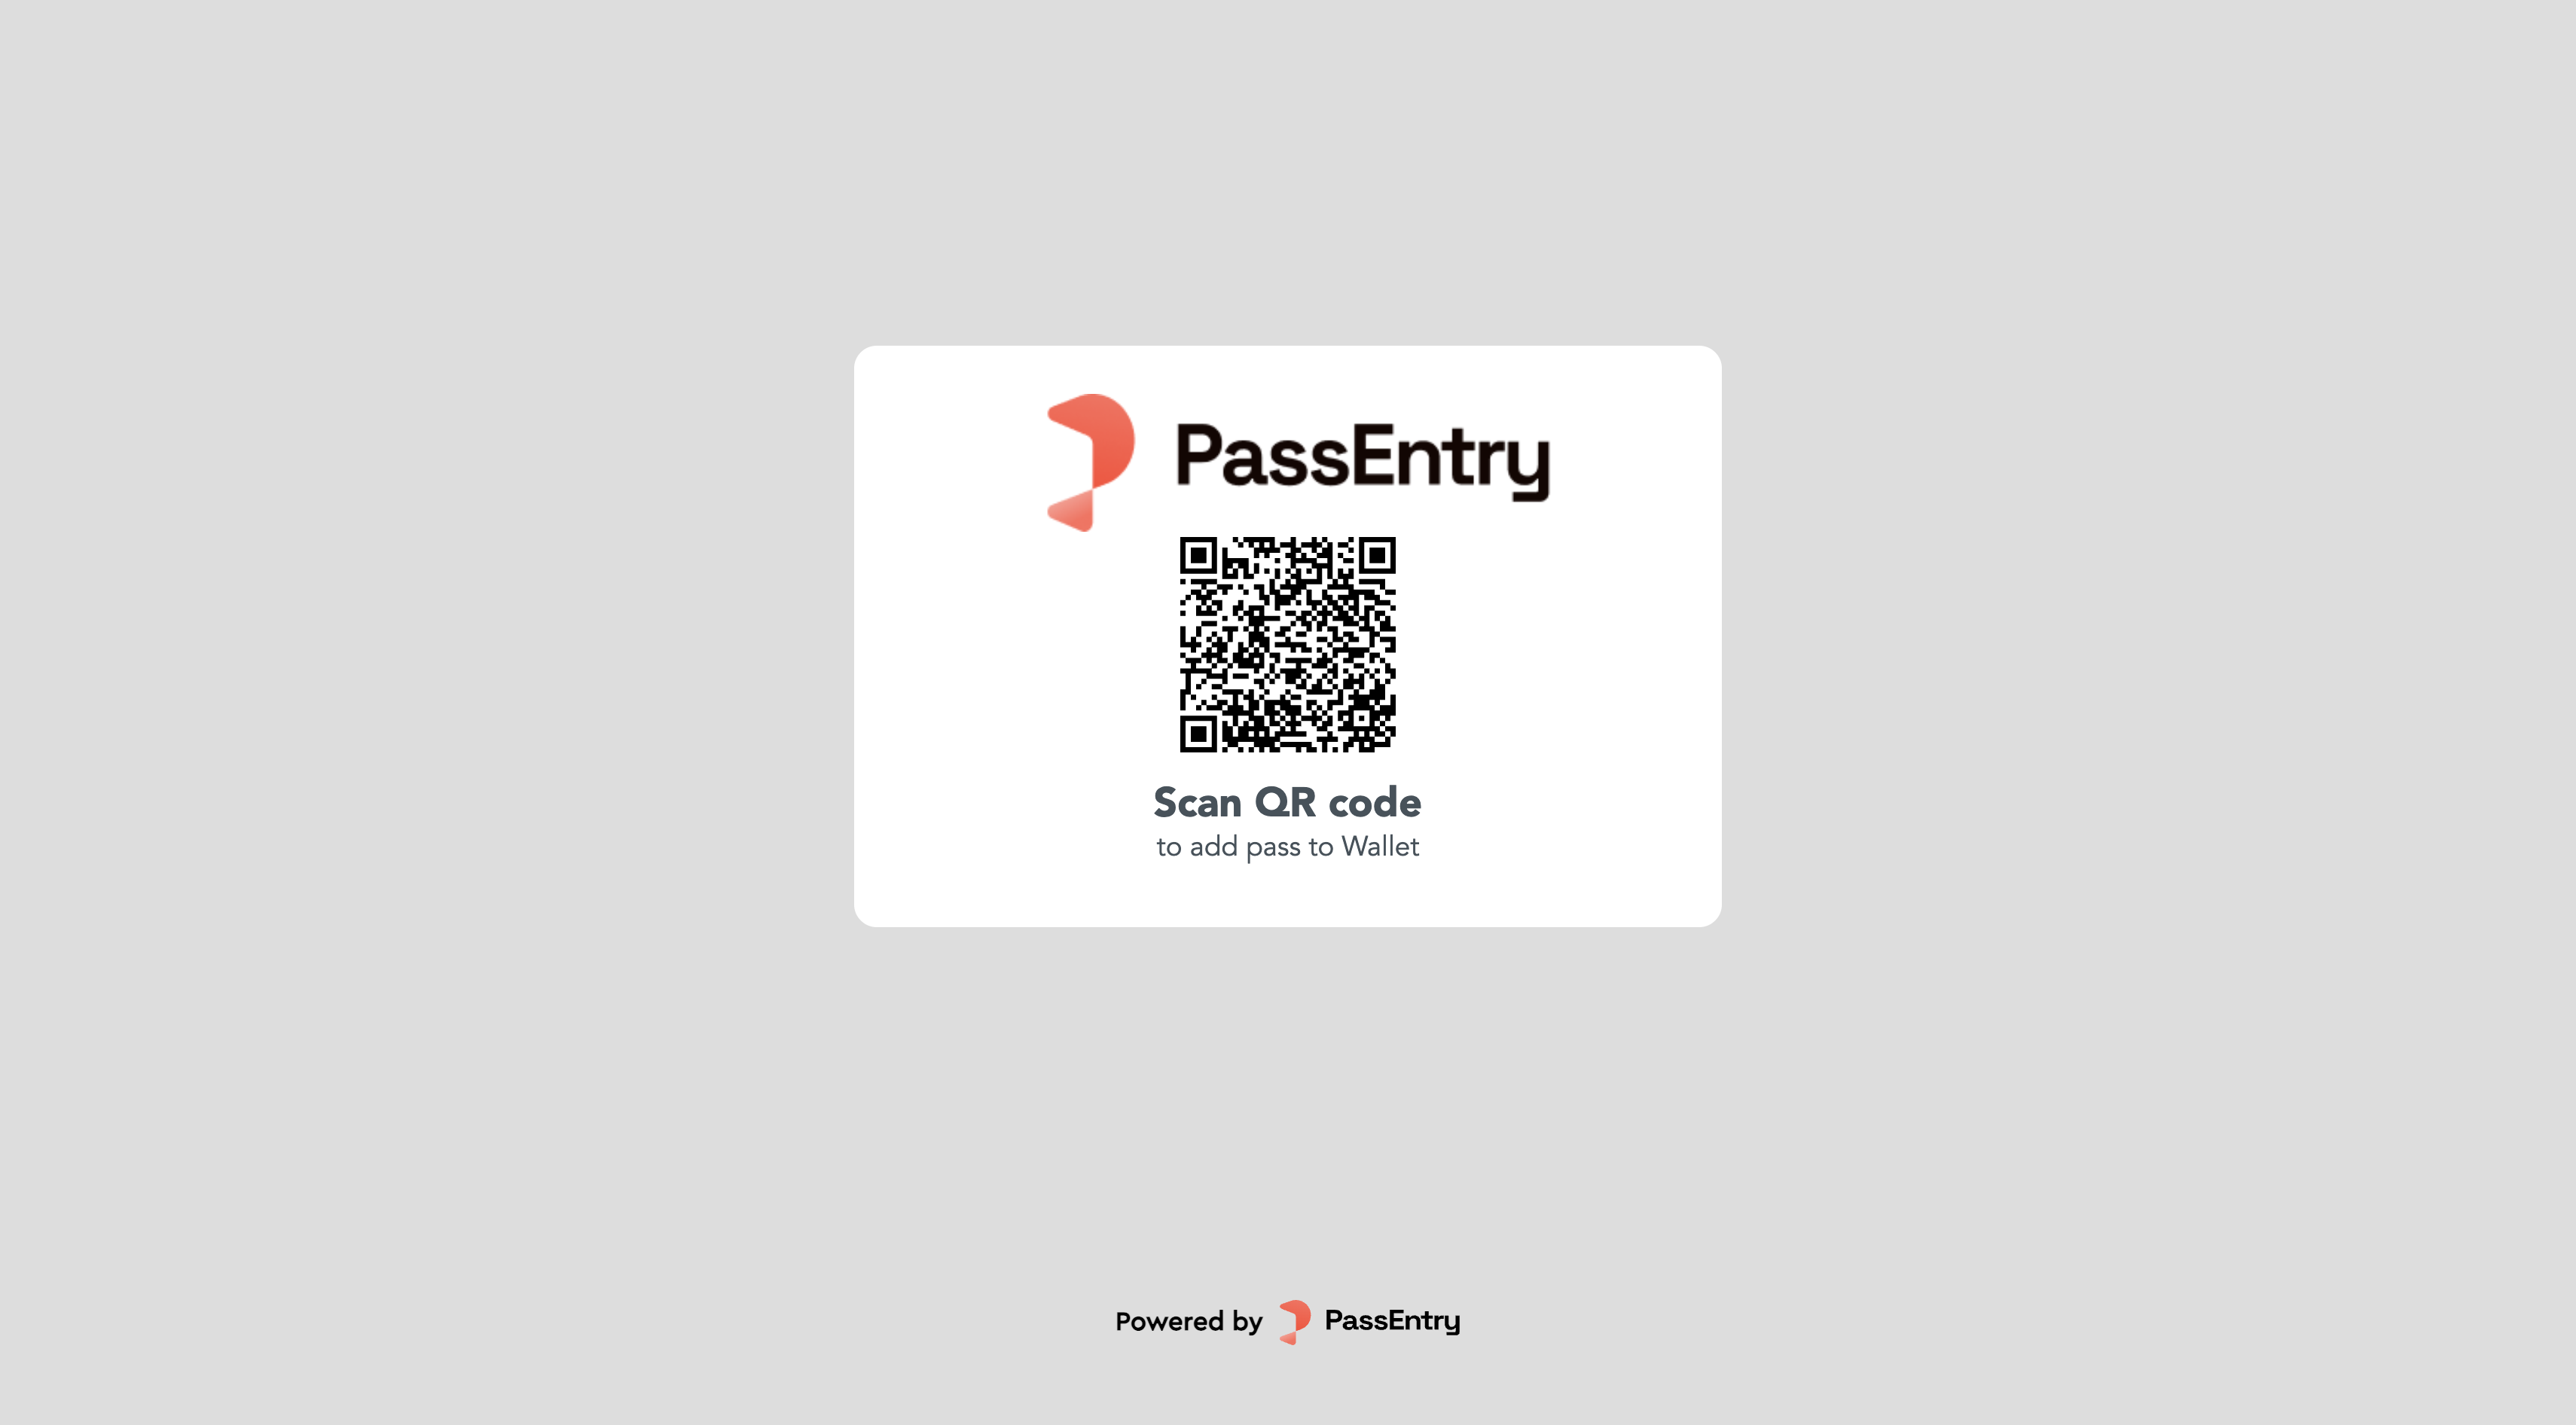
- When opened on desktop, the link displays a QR code that can be scanned to add the pass to a mobile wallet.
Step 4: Updating an existing pass
Issued passes can be updated at any time. Updates are reflected automatically in the user’s wallet — there is no need to reinstall the pass. Pass updates can be triggered in two ways:- By changing the data of an individual pass (for example: balance, tier, status)
- By updating the pass template (for example: adding a holiday banner or changing an offer), which updates all existing passes created from that template
Update a pass via the dashboard
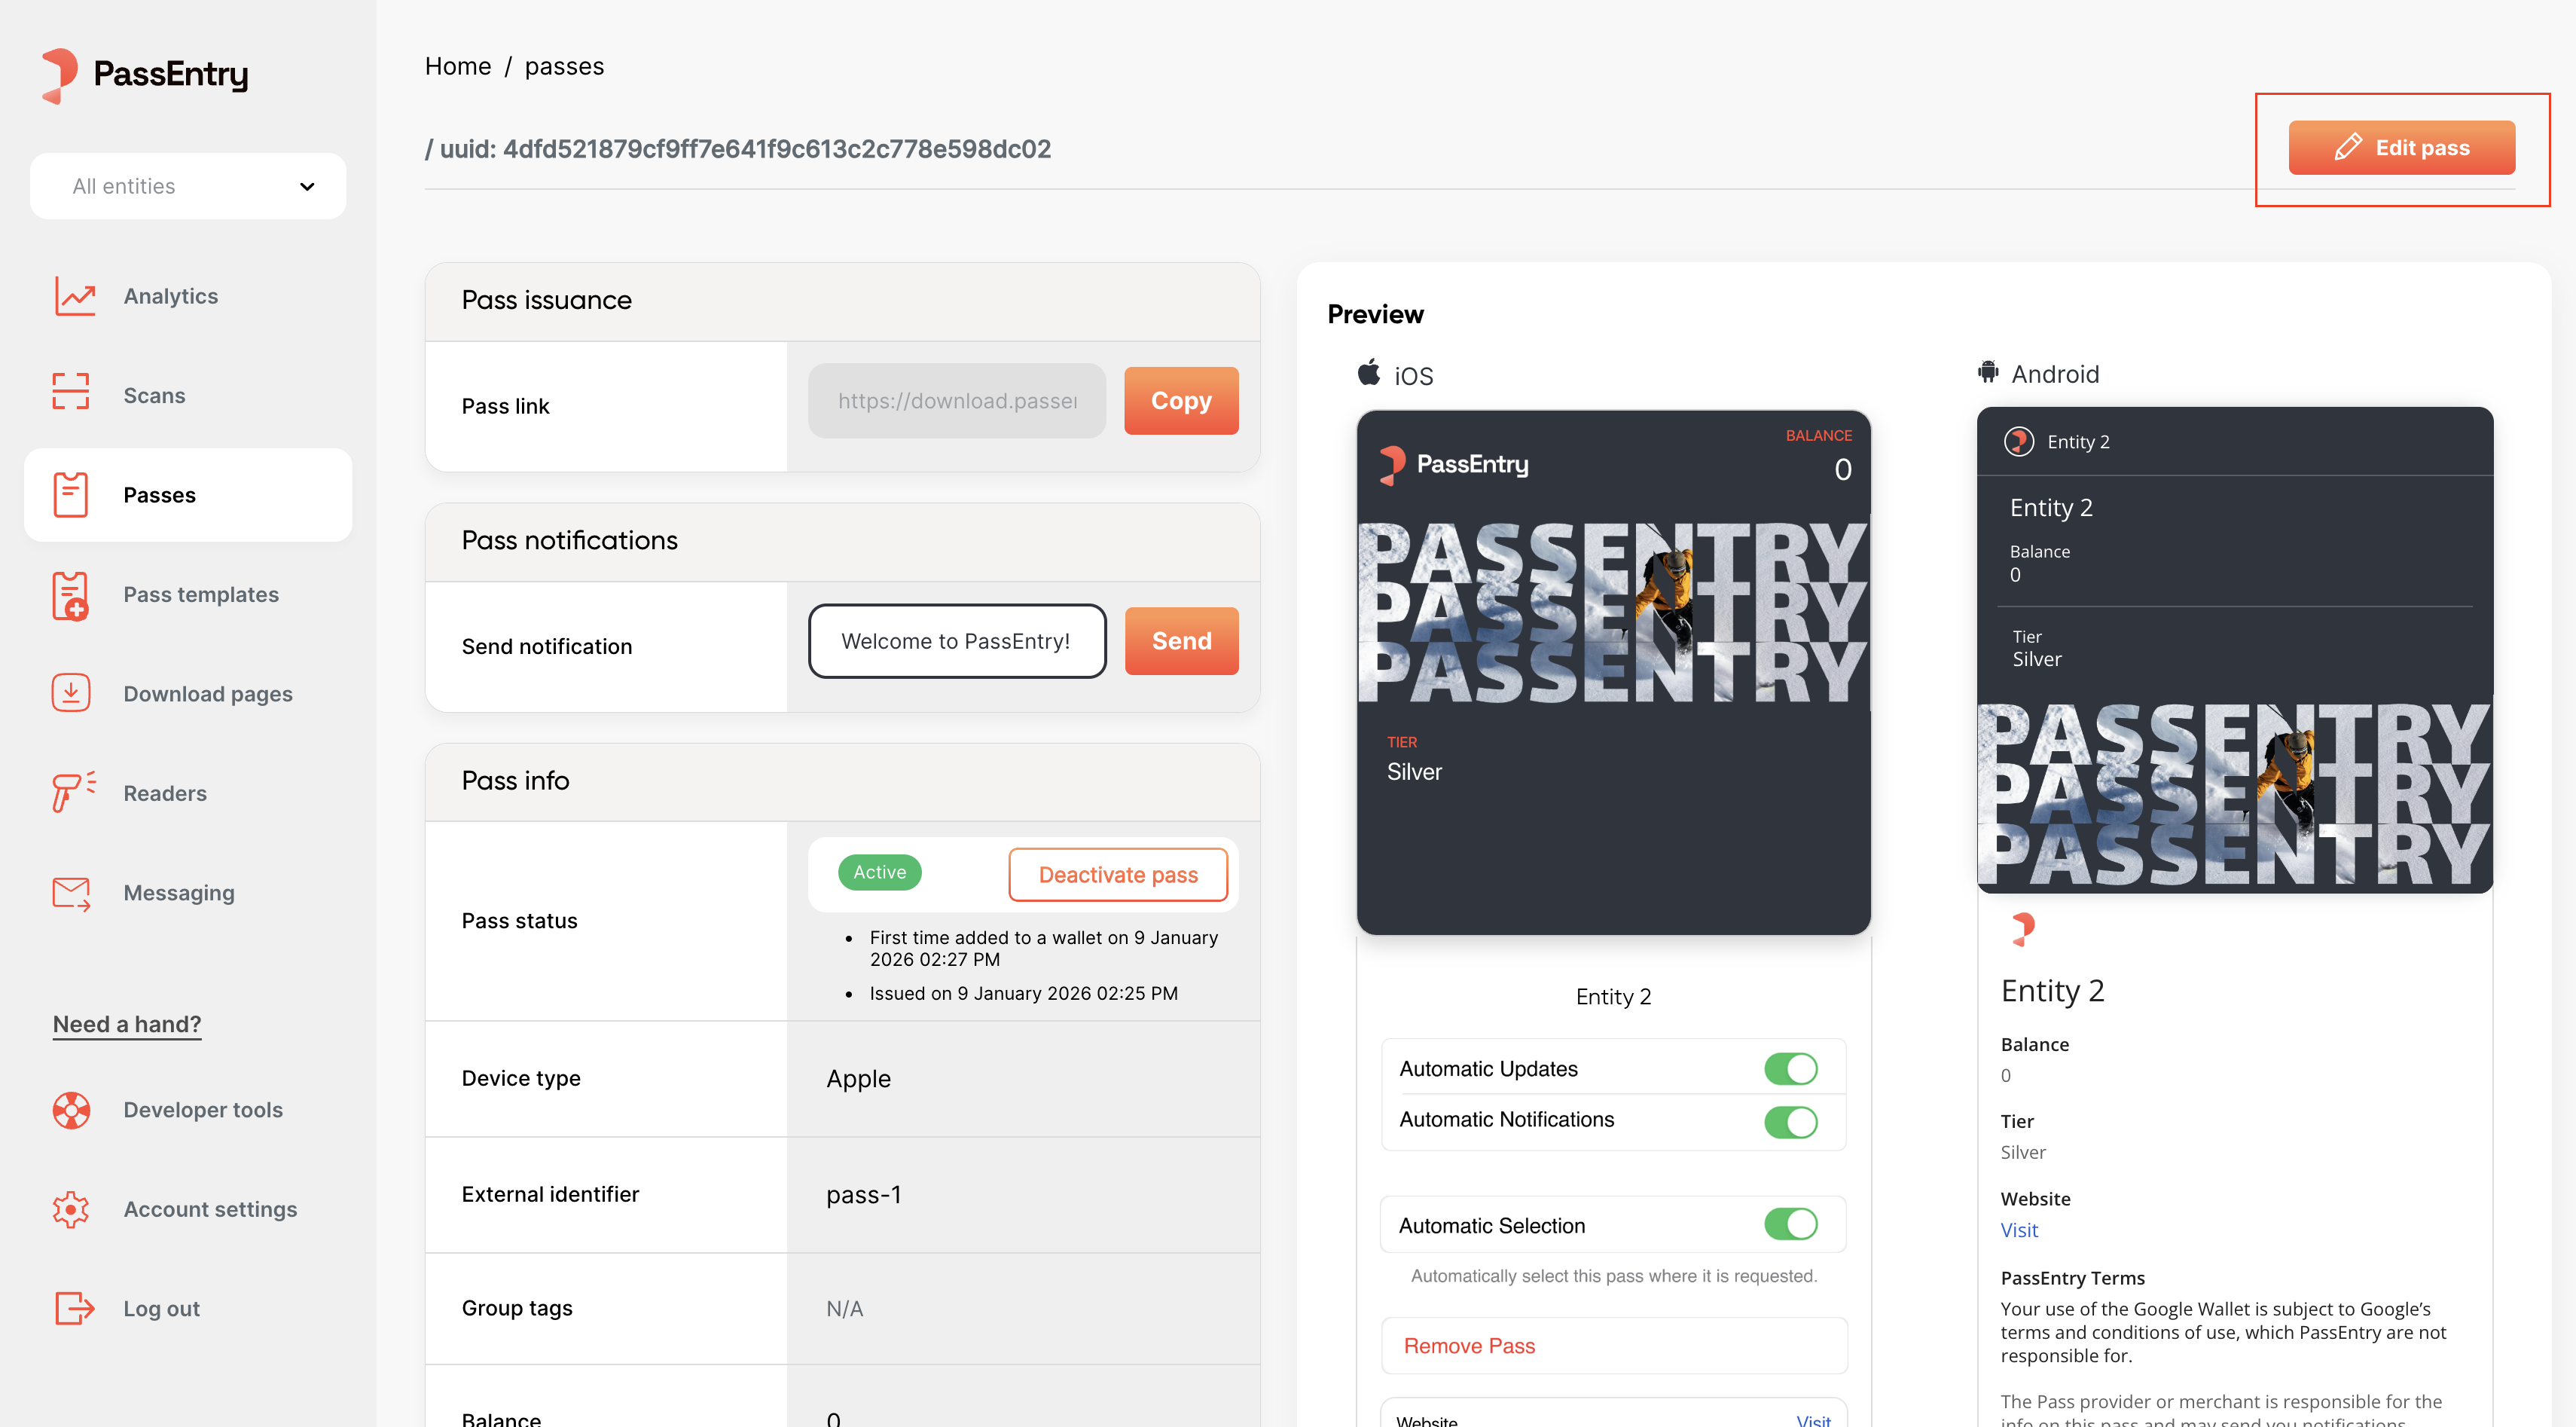
- Open the PassEntry dashboard
- Go to Passes
- Select a pass
- Update any field (for example: balance or tier)
- Save changes
If you want to update passes programmatically, see the API reference.
Step 5: Sending notifications to pass holders
You can send notifications to pass holders to inform them about updates such as new offers, subscription expiry or balance changes. Notifications can include clickable links.Send a notification from the dashboard
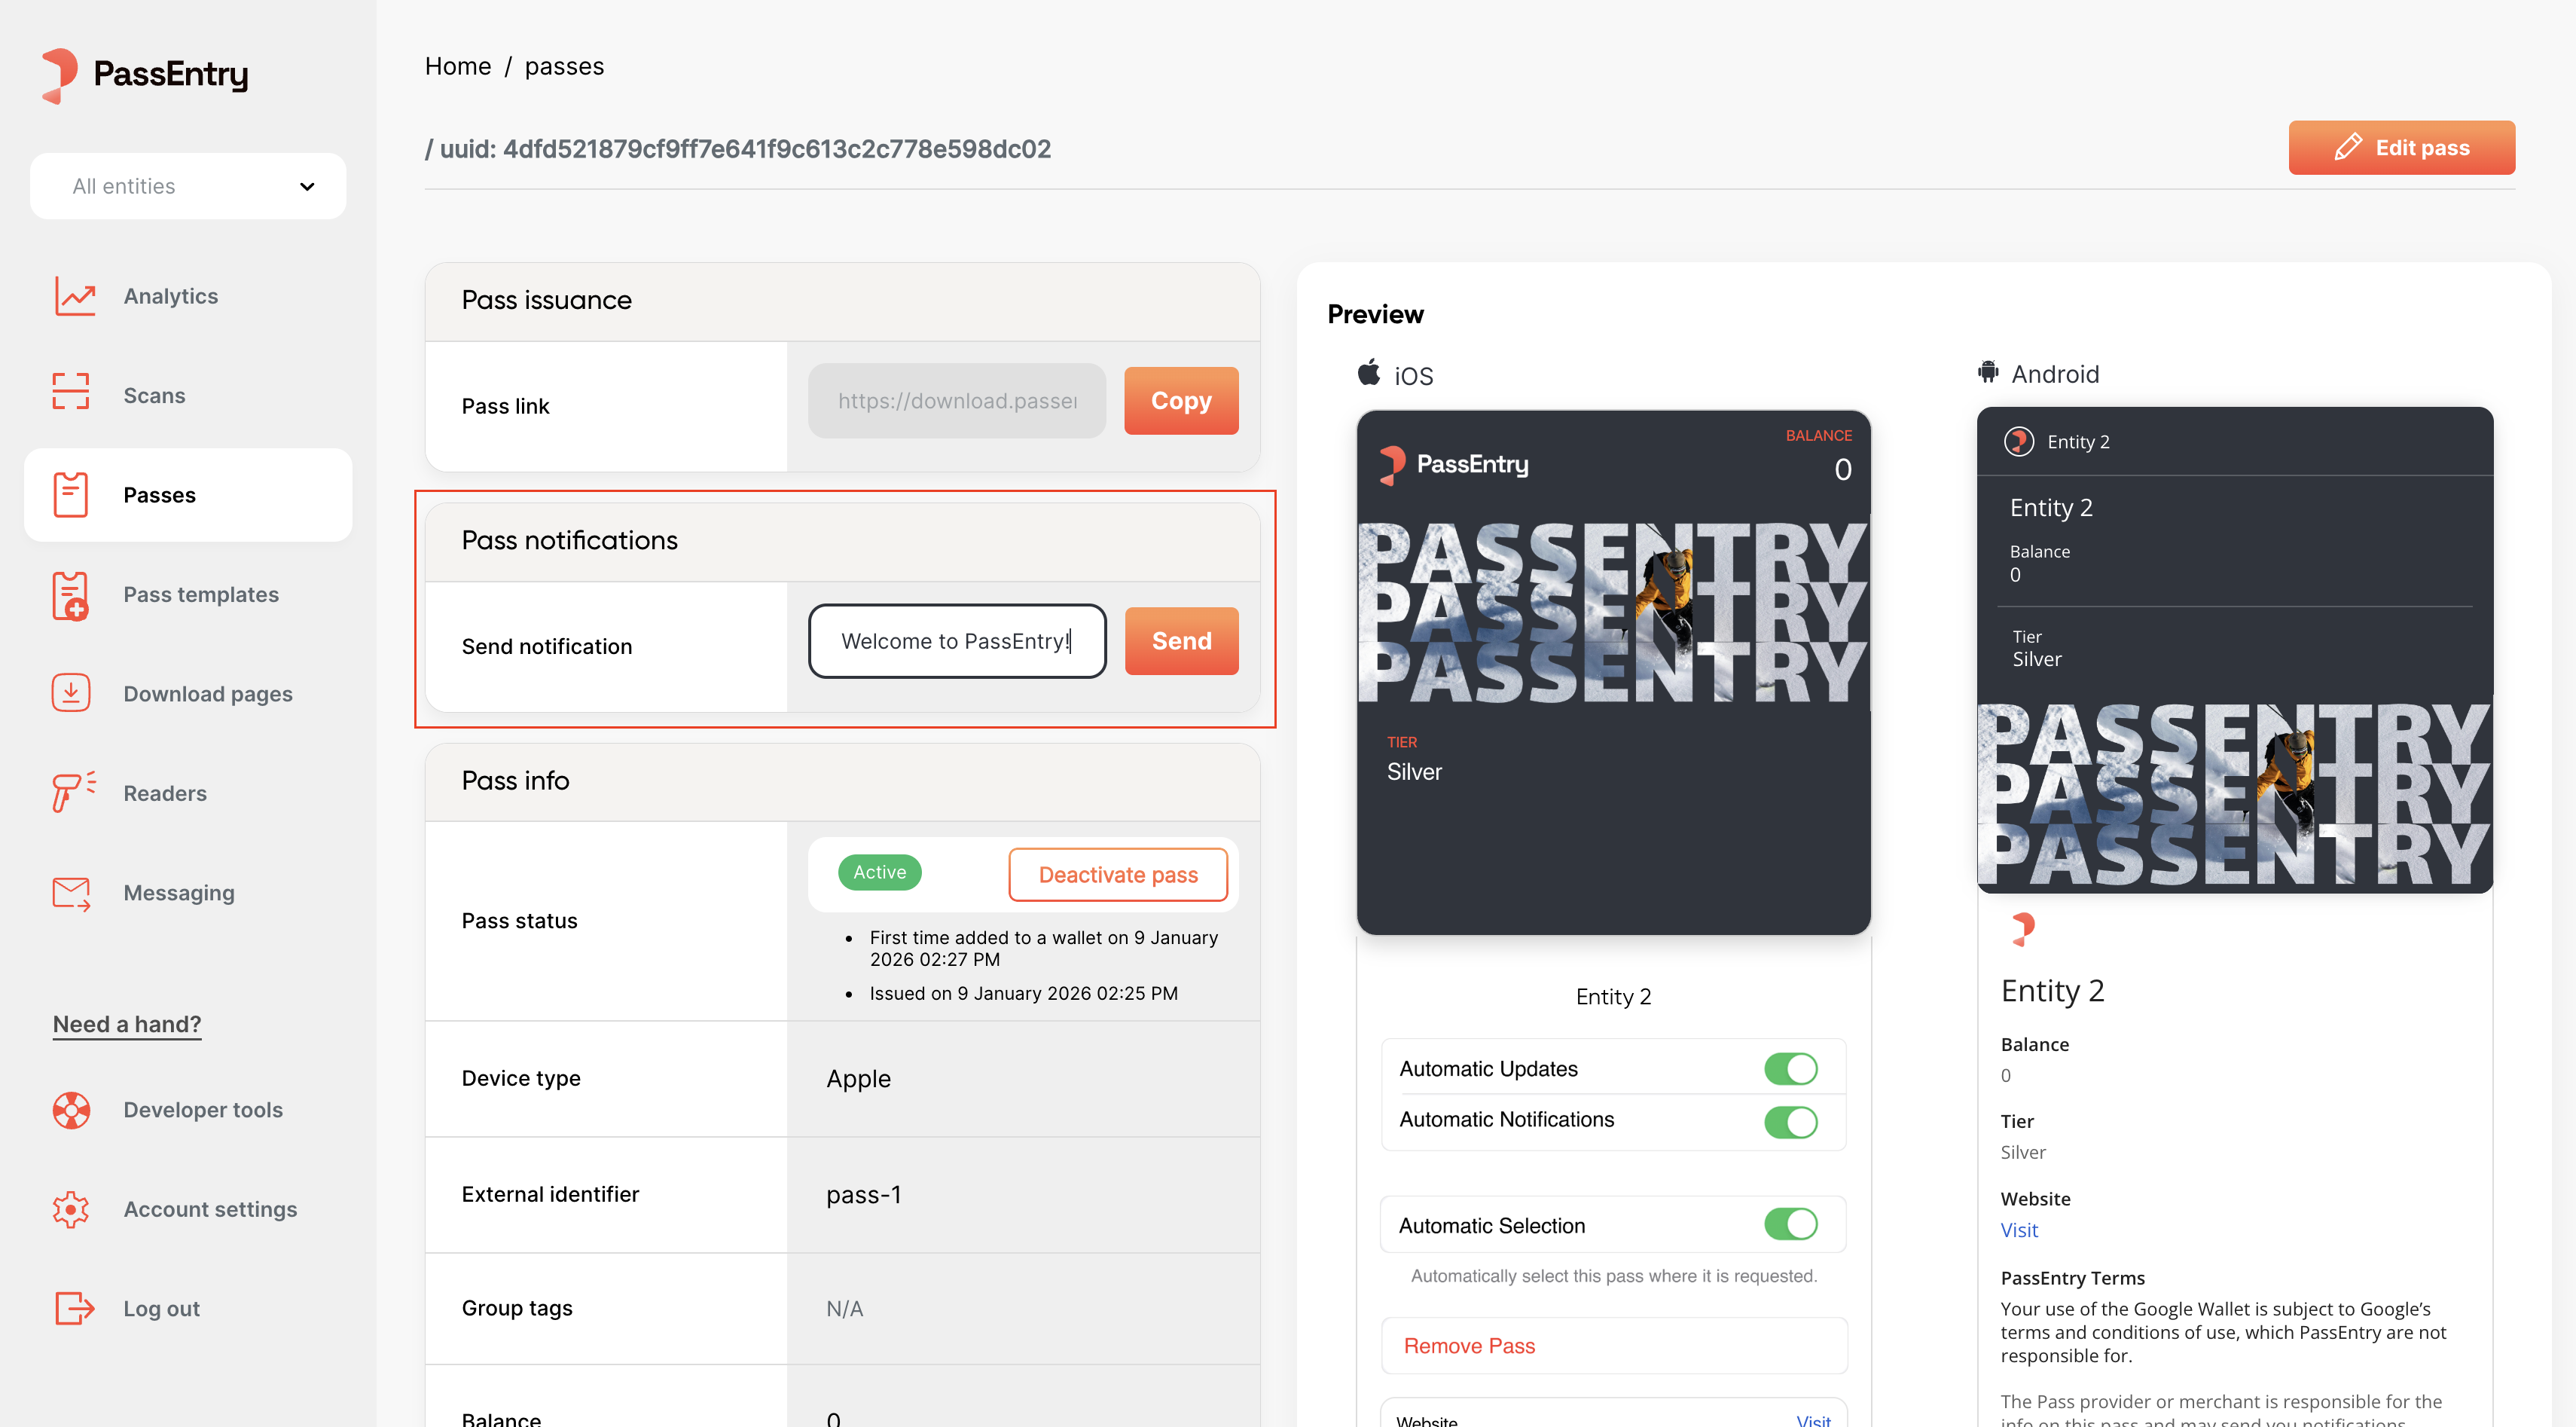
- Go to Passes and open the pass you created in the previous step
- Find the notification section in the pass preview
- Enter the notification text
- Send the notification
Notifications can also be sent in bulk using CSV uploads or programmatically via the API.
What’s next?
Once you’ve issued your first pass, you can explore more advanced workflows:- Bulk operations. Create, update or notify many passes at once using CSV uploads. Learn more:
- Custom download pages and pass issuance forms. Create a branded pass download page or a custom form to let users submit their data and claim passes themselves. Learn more:
- API automation. Automate pass issuance and updates from your backend. Learn more: API reference
- Pass validation with the Reader app. Install the PassEntry Reader app and validate passes in real time. Learn more: PassEntry Reader app configuration
- Zapier integrations. Connect PassEntry to your existing tools without writing any code. Learn more: Integrating with PassEntry via Zapier